Homemade Simple Vanilla Macarons Recipe

I’ve recently been introduced to macarons, and I loved them! The nice crispy shell texture with a soft centre make an amazing treat! Not only do the ones at the store taste good – they look amazing! So, I figured I’d try my hand at making a simple batch of Vanilla Macarons as it appears I have all the ingredients in my pantry! Of course my batch didn’t look great – but tasted wonderful!

Ingredients: Makes about 12
1/3 cup finely ground almond
3/4 cup powdered sugar
2 egg whites
2 tbsp sugar
1 tsp vanilla extract

Filling
2 egg yolks
2 tbsp sugar
2 tbsp milk
1 tsp vanilla extract

Let’s get started on my first batch of shells! First, we gather all our ingredients so we have everything ready and preheat the oven to 300F.

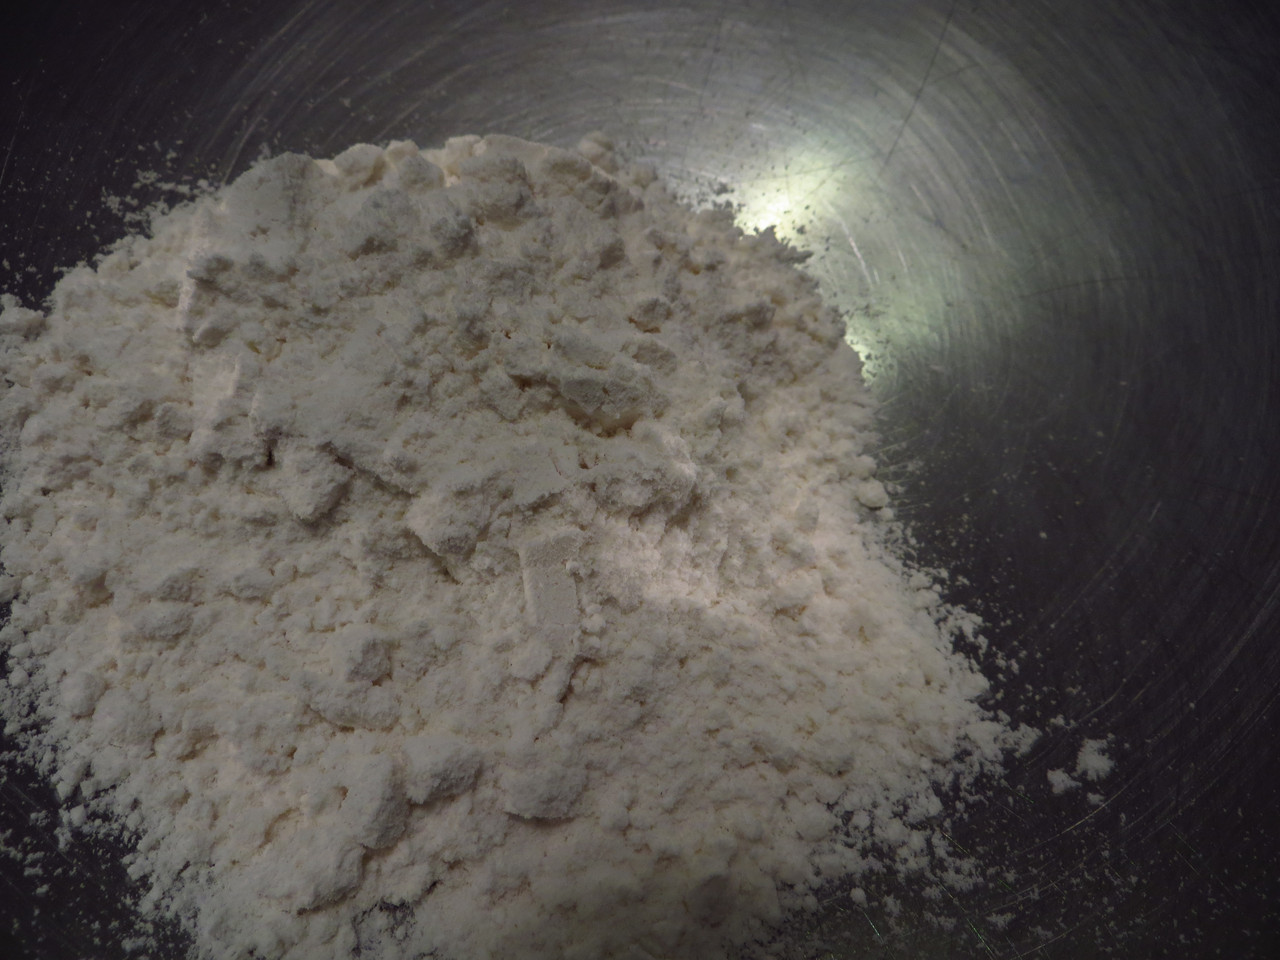
Then we grind the almonds until they’re fine and then we grind it with the powdered sugar! I figured we do this so that the ground almond is coated with the powder sugar so it doesn’t lump!

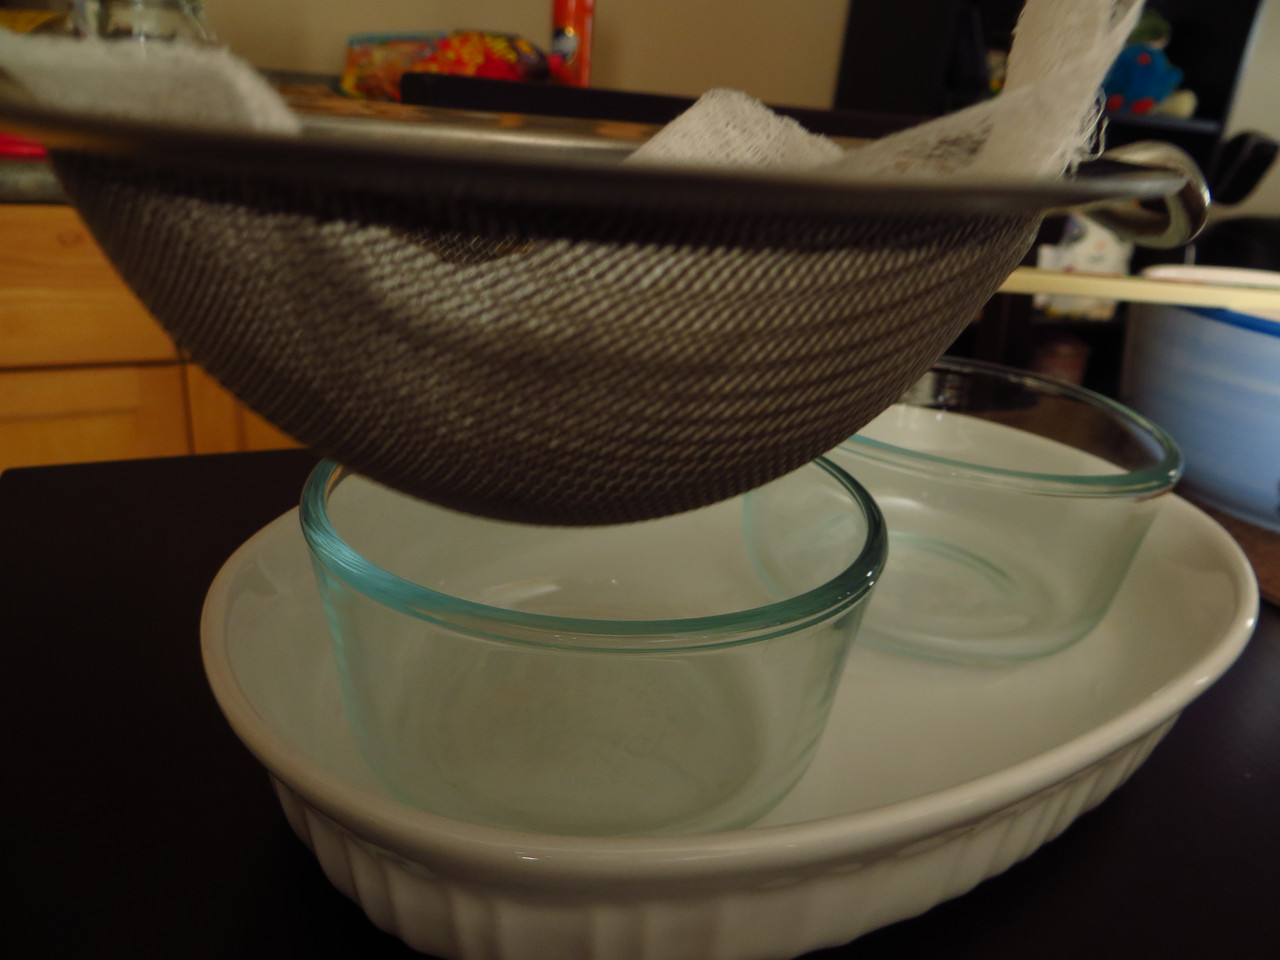
Lots of recipes call for sifting the mixture a few times. I tried and I guess my strainer is too fine… it separates the powdered sugar from the ground almonds. The end results wasn’t rough or anything but it’s got some texture as I had to omit the step. So, we go to beating the egg whites until the mixture starts becoming airy and bubbly. At which you will add the 2tbsp of sugar and continue to beat until soft peaks form. Once you got the soft peaks, beat the vanilla extract in.

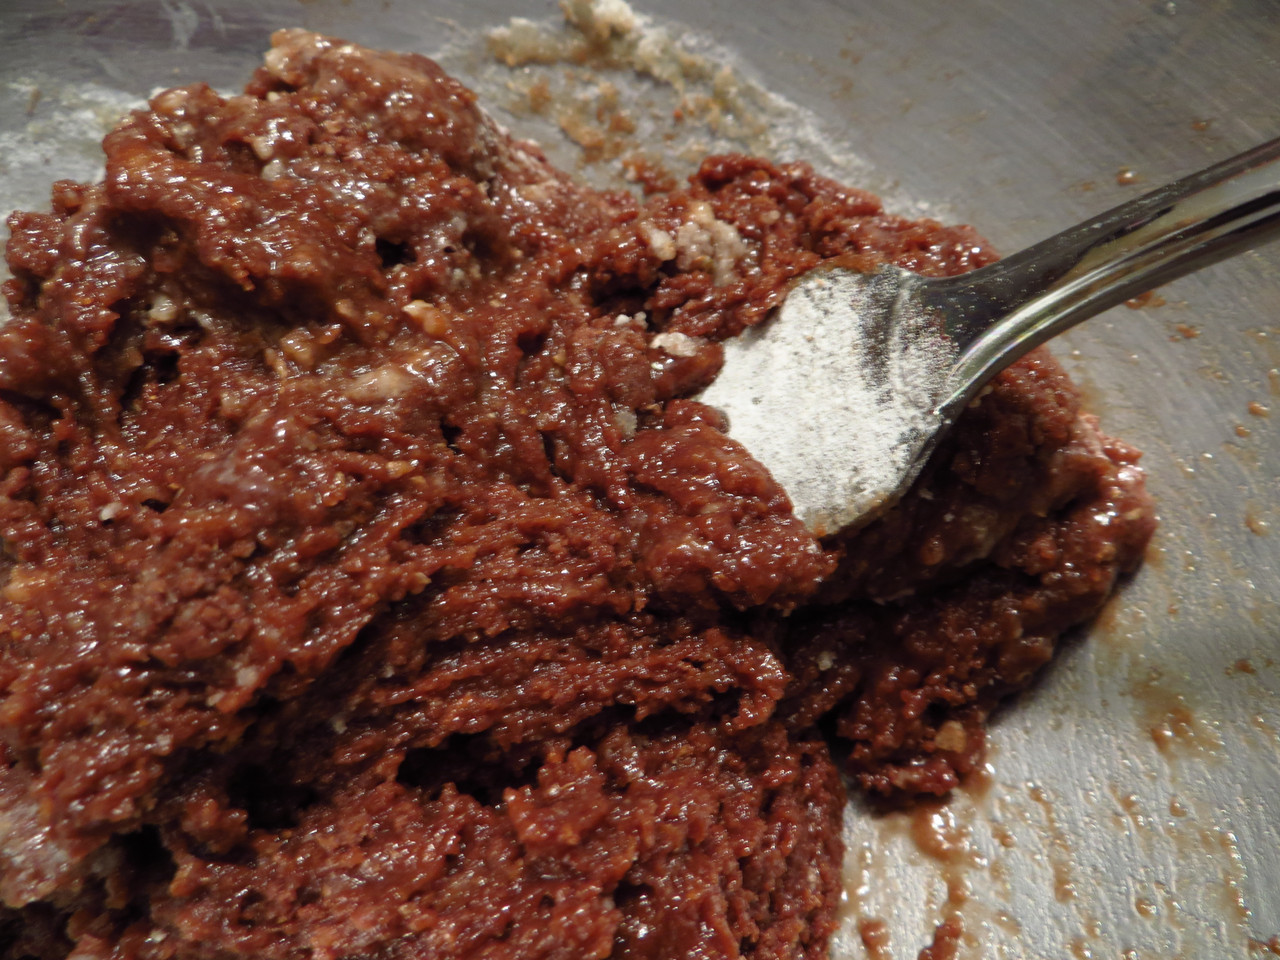
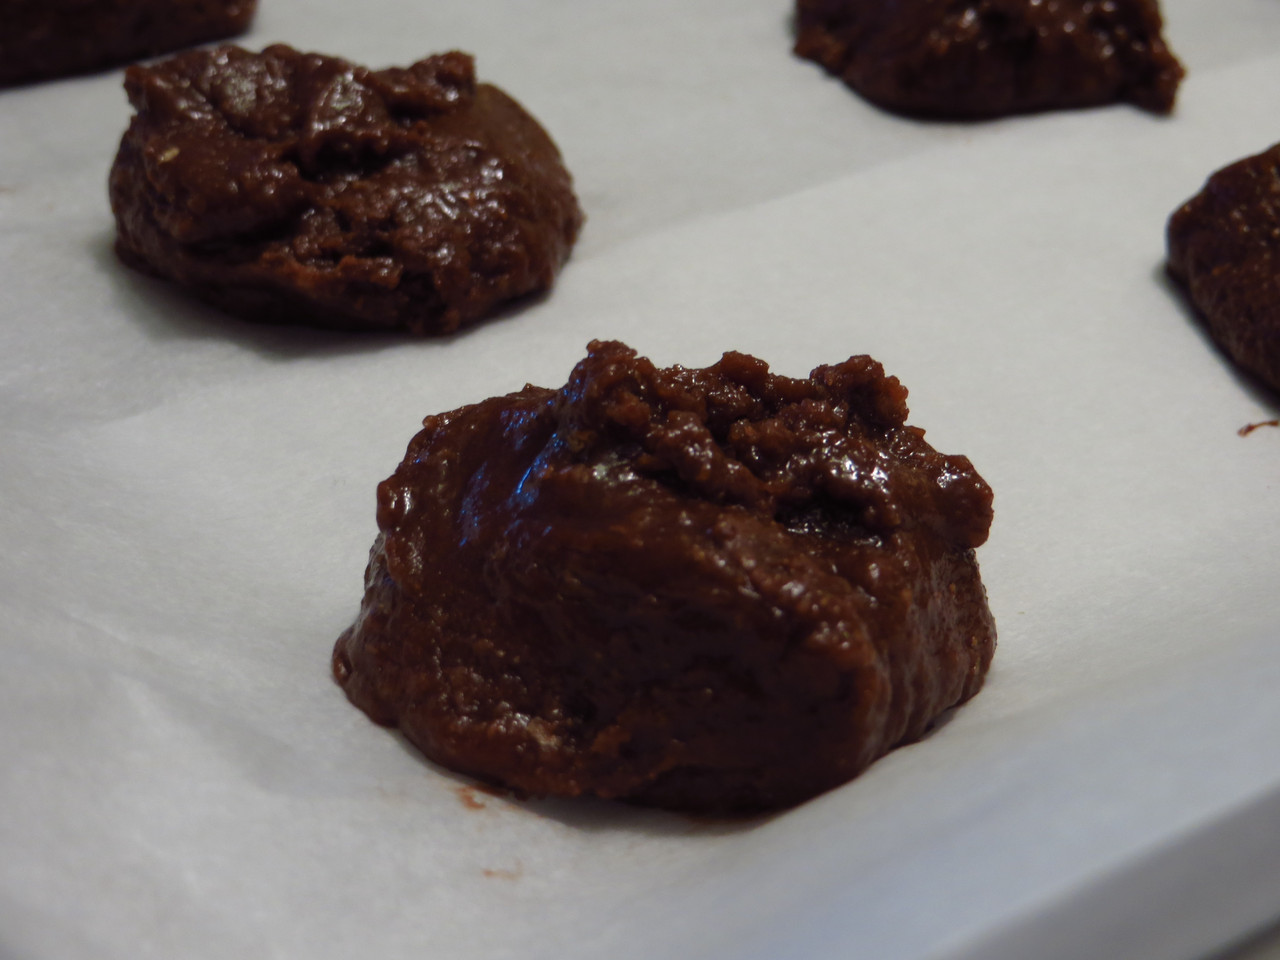
From here, mix half of your egg white mixture into your almond mixture and mix until they’re incorporated. Then, fold in the rest of the egg white and put into a piping back or a ziploc bag. Then, you can cut out a corner and pipe onto a lined cookie sheet of circles. Then you let them dry for about 30 minutes (or until a hard layer is made)

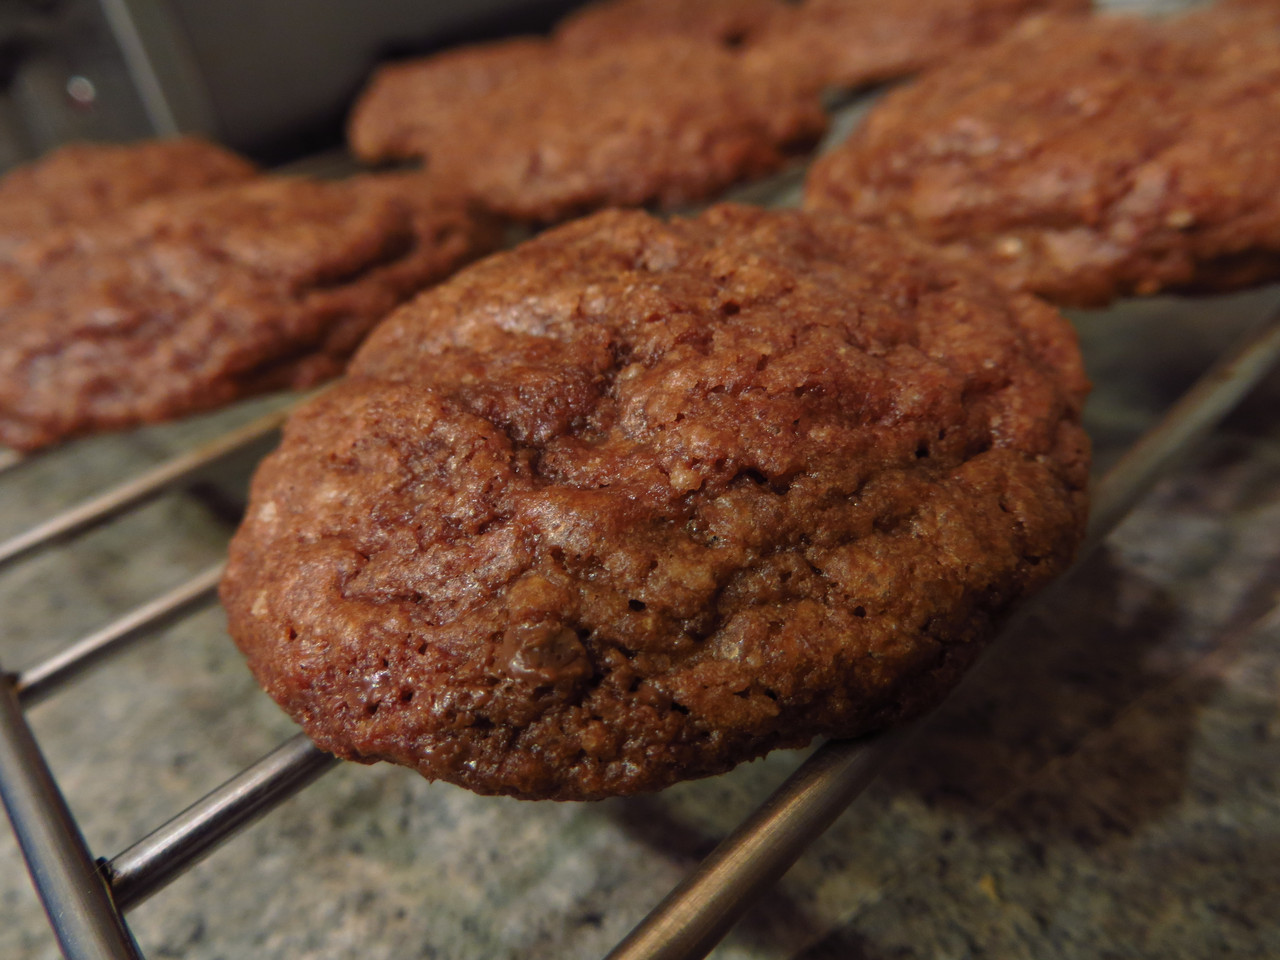
Once the hard layer is formed by drying it, you can pop them in the oven for 15-20 minutes or until they move off the parchment paper easily. At this point, you can take them out and let them cool while you make the filling.

For the filling…
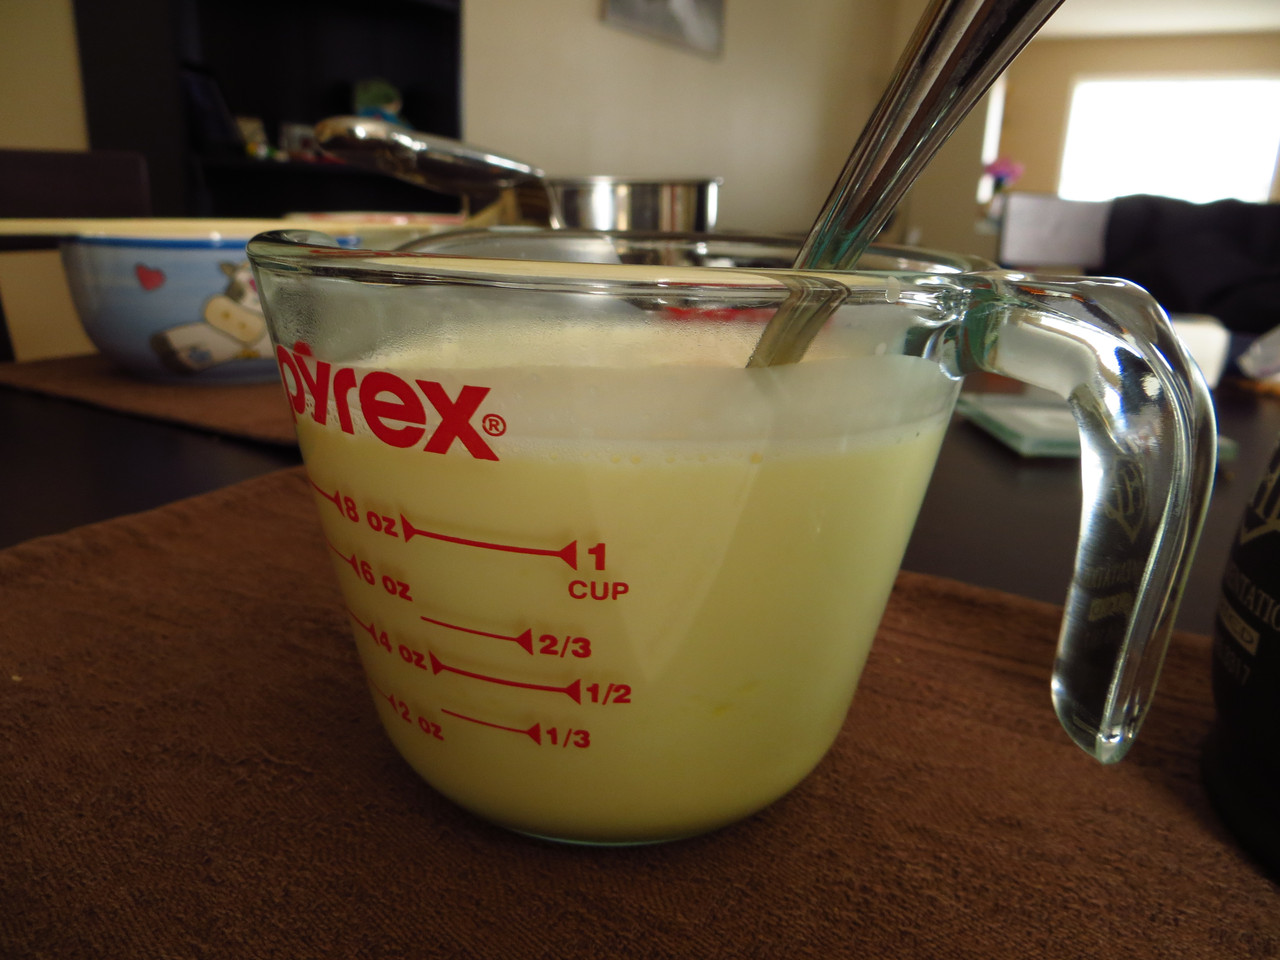
You can start by taking out the ingredients that you need.

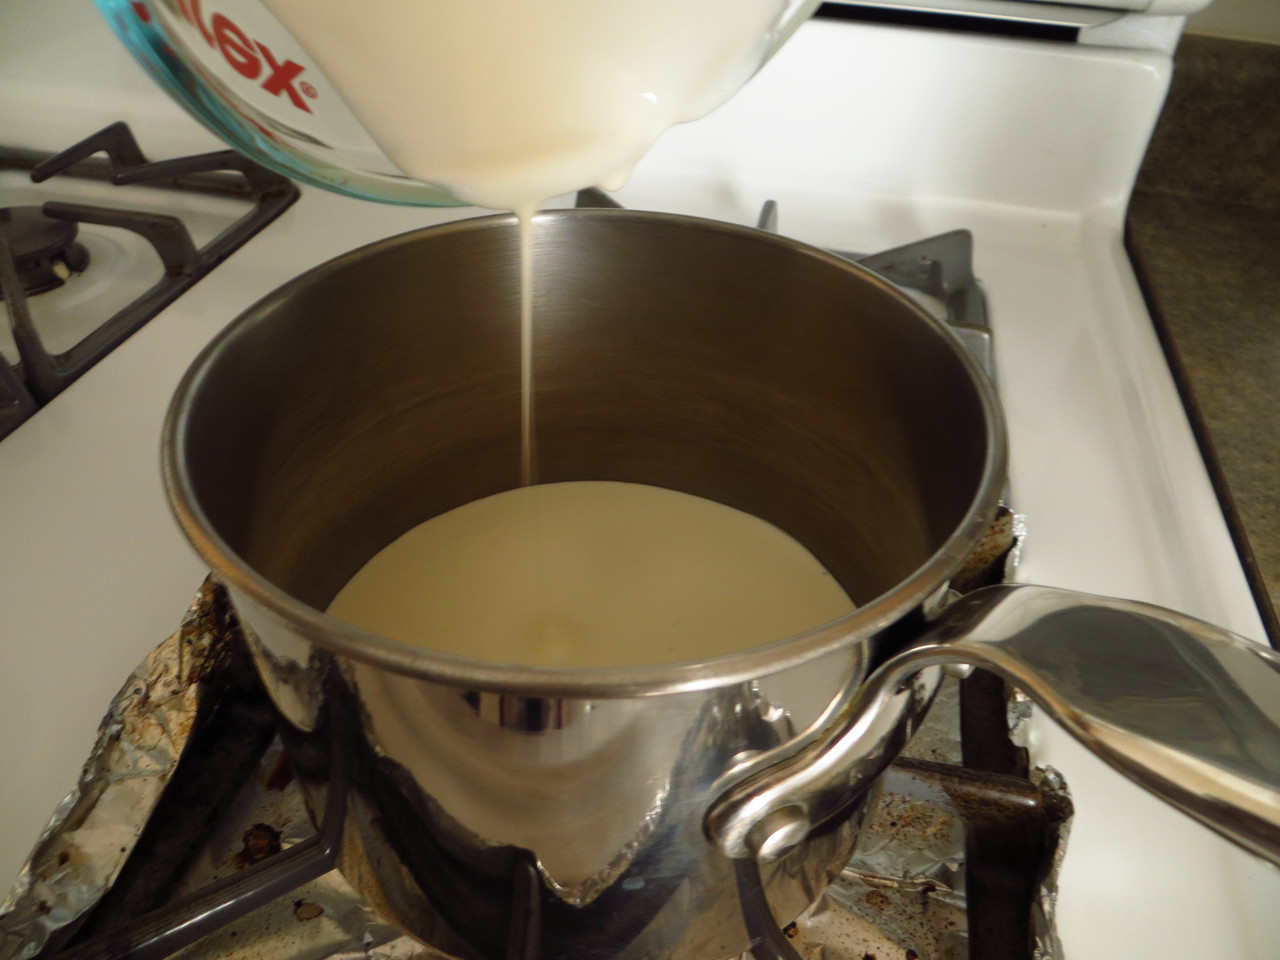
Start with the egg yolks, and beat together the ingredients until it’s even and smooth.

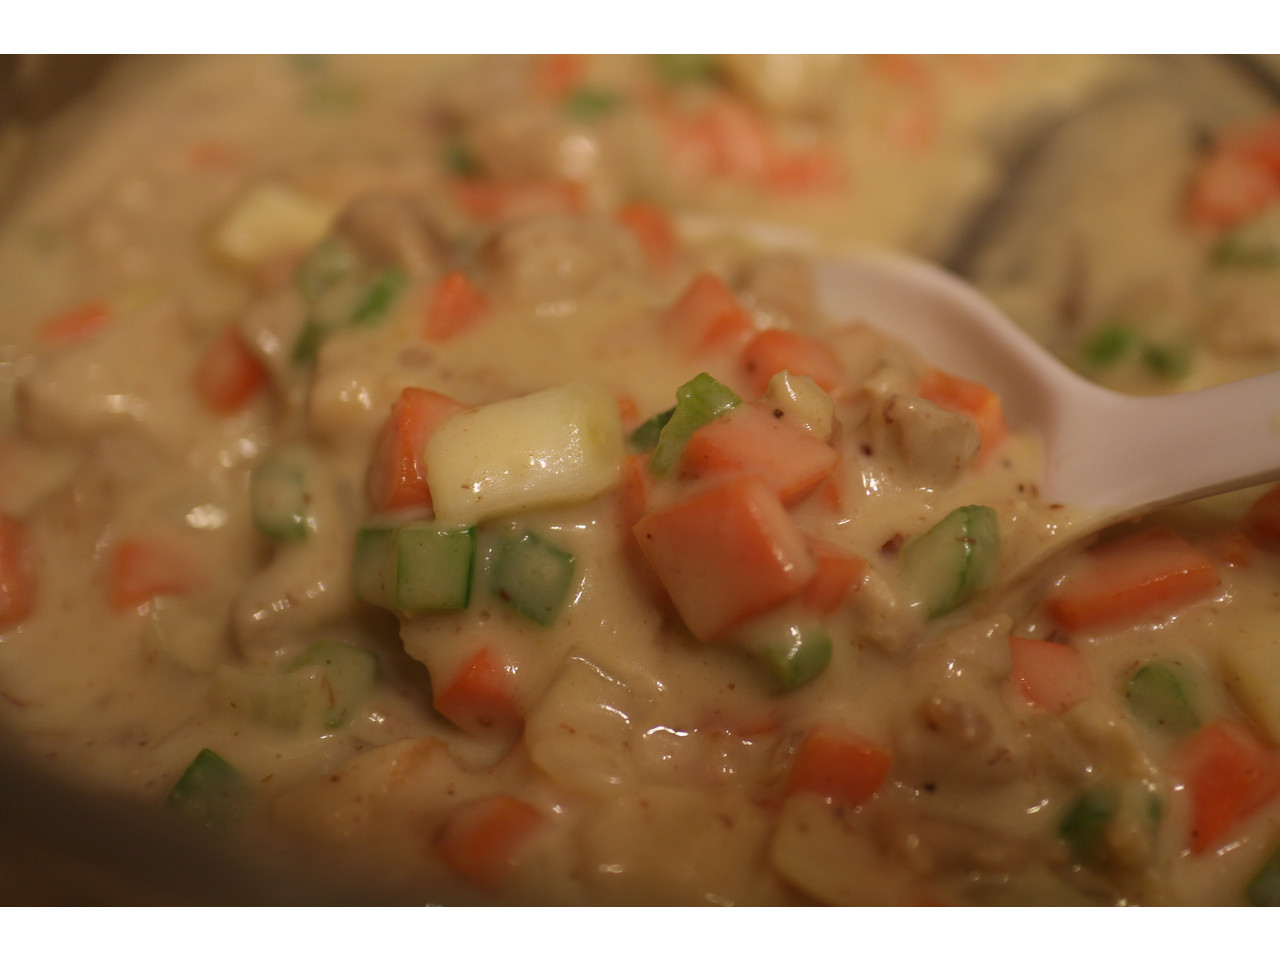
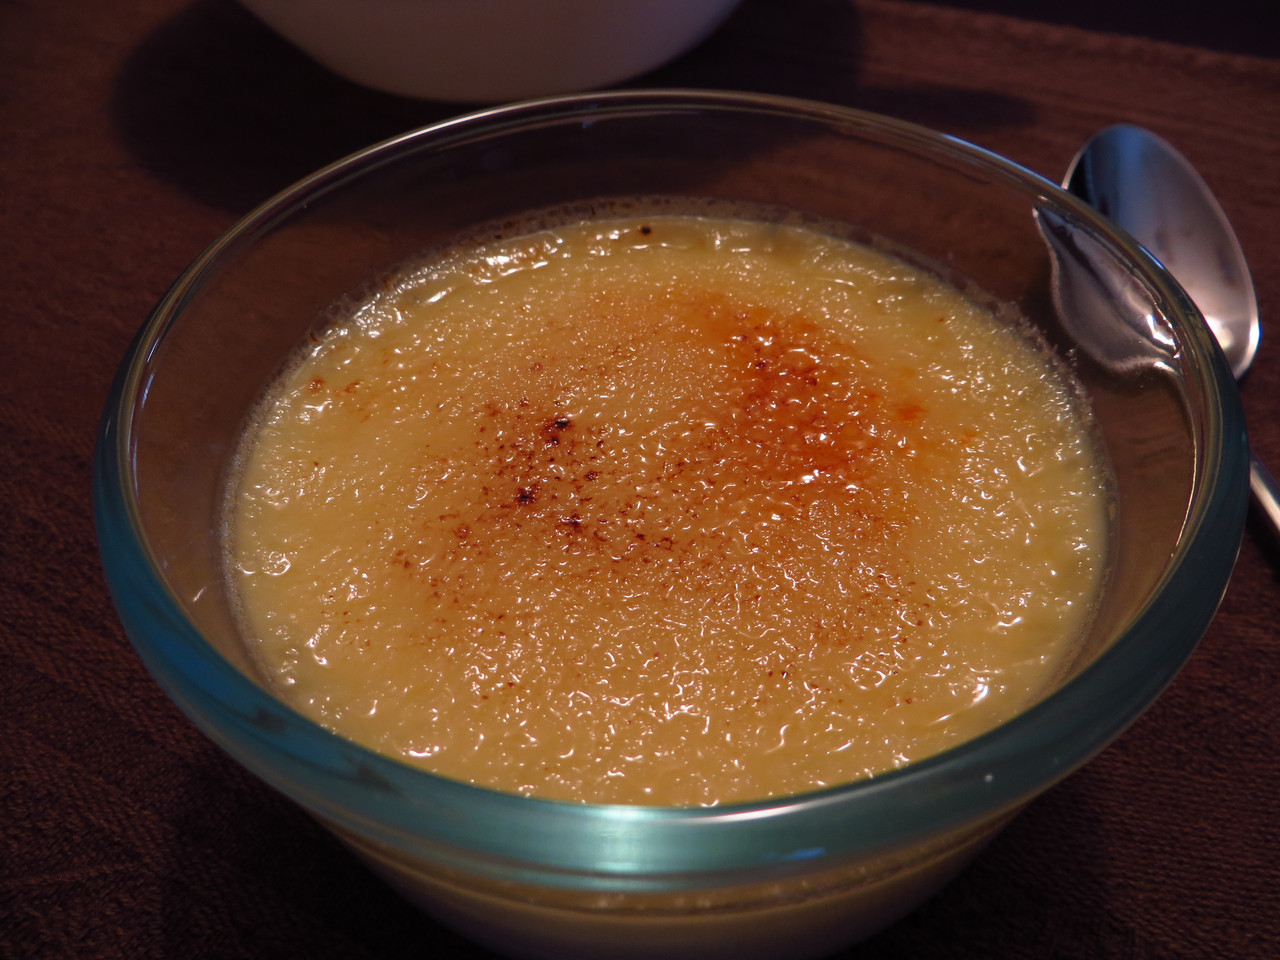
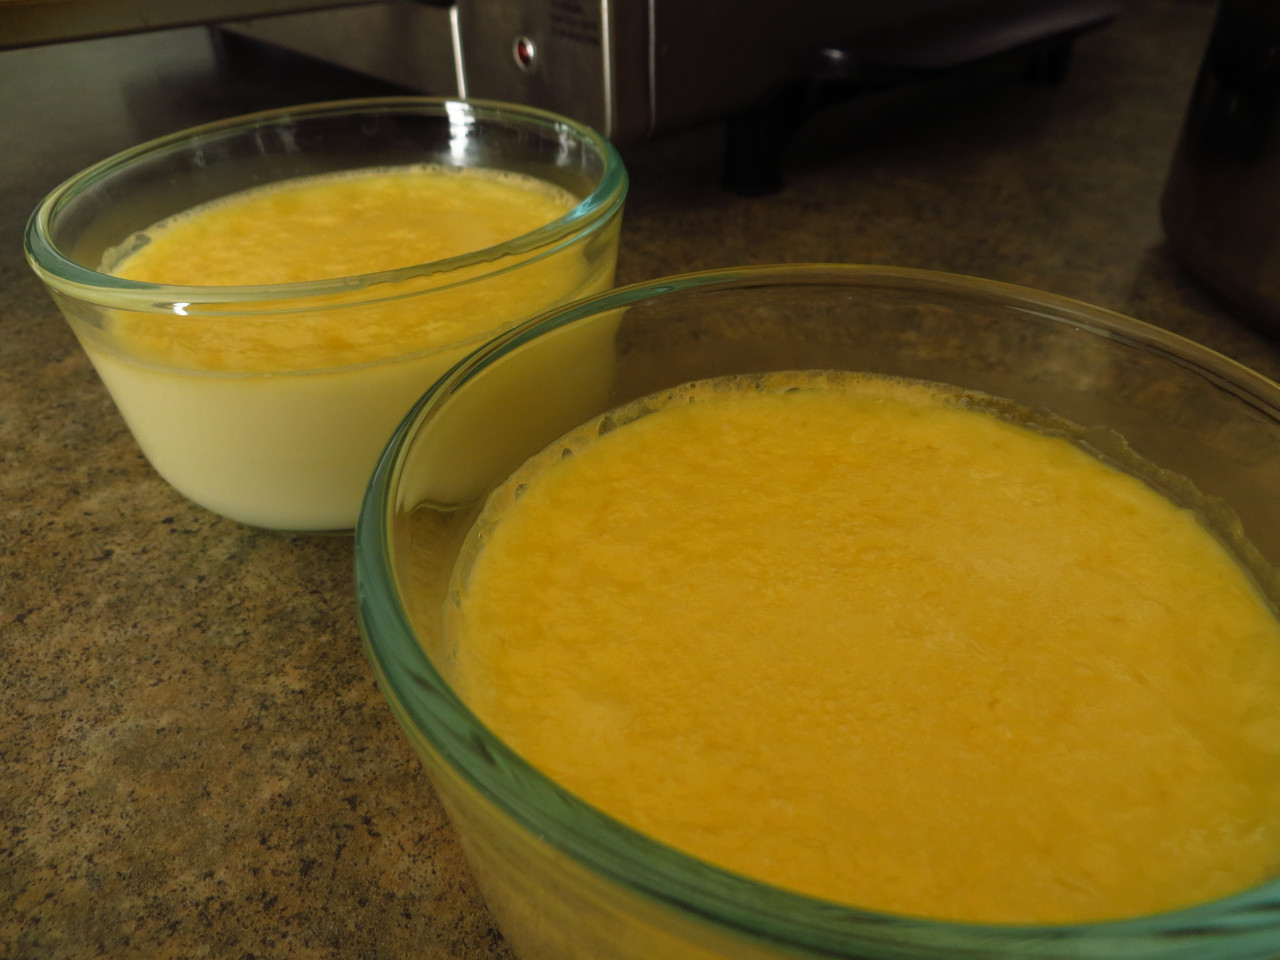
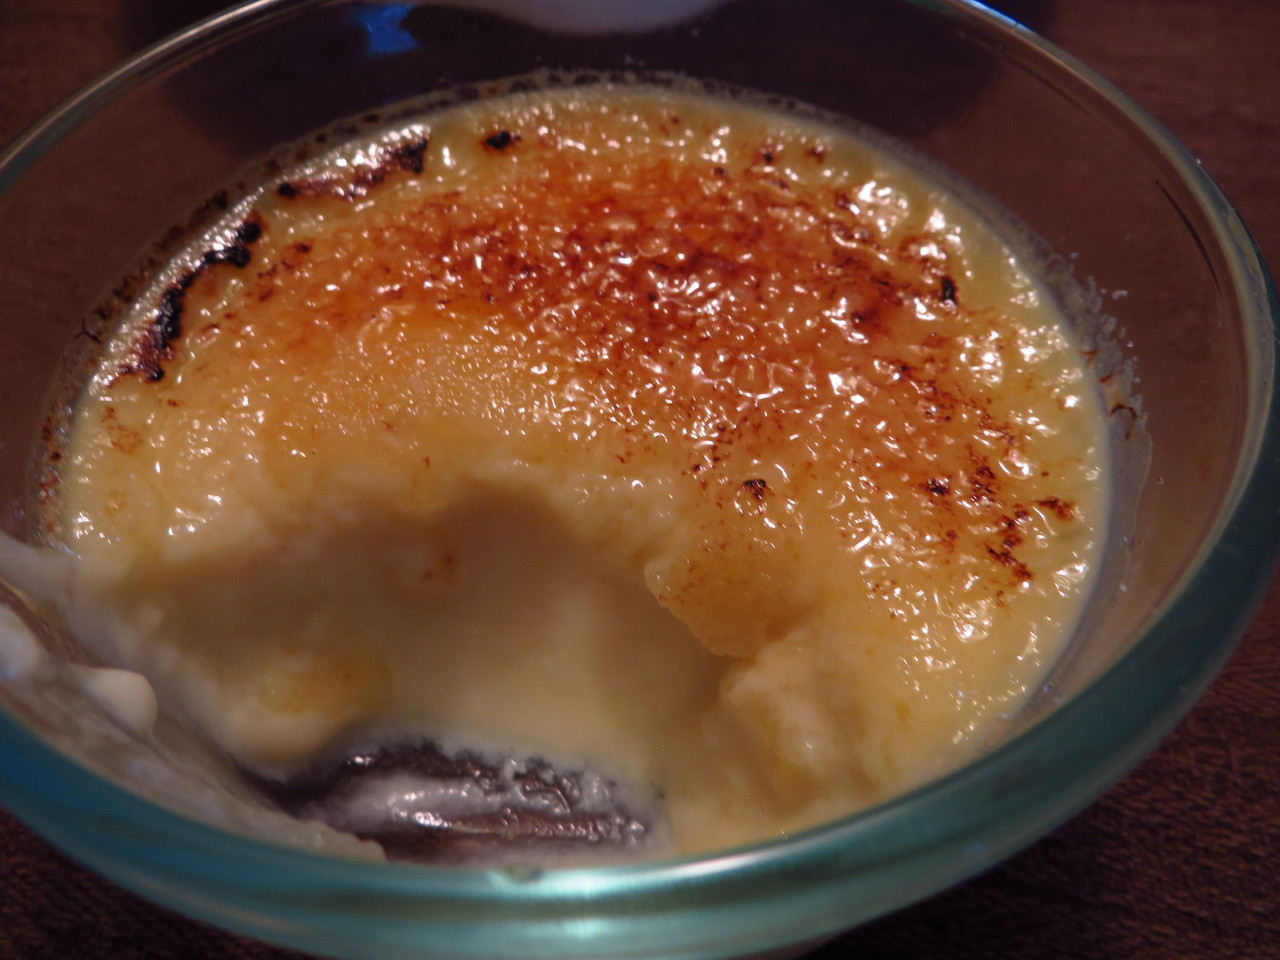
Then, move it to the stove top and cook it until a custard texture

From here, I removed it from the heat and returned it to a bowl and let it cool to room temperature.

When it has cooled, I arrange the macaron shells so that they kind of match each other in relative shape and size. I put a dollop of the butter cream on one side and put the other side on carefully. Once they’re assembled, I put them in the fridge to set. When you’re ready to eat, take them out a few minutes ahead to take the chill off of them. They apparently last up to a week in an air-tight container in the fridge. Ours are often gone way before then!

Homemade Chicken Pot Pie

It’s been awhile since I’ve posted my own cooking now… but, I recently was asked to make my best friend a fail proof recipe for something chicken and fail proof. I chose to teach her Chicken Pot Pie as it’s very versatile, and you really can’t goof on it.

Ingredients: Serves 2 (you can always make more!)
2 pieces of boneless/skinless chicken thigh (or 1 piece of chicken breast)
1 chopped carrot
1 chopped small onion (1/2 Large onion)
1 stalk of celery
1/4 cup Frozen corn (optional)
1 pack of puff pastry
1 tbsp butter
1 1/2 tbsp flour
3/4 to 1 cup milk

First off, preheat the oven to 375C or 400C, I like to use 375C on my toaster oven as I’m only making 2 pies. Then start by chopping all the vegetables and putting it aside. Then, chop the chicken, and I just do a quick marinade with just salt and pepper. You can add more flavouring to it if you want. Sometimes, I use seasoning salt as well…

Then, I saute the chicken in a pan, low and slow until it cooks through about half way or a little more than half way. Then, I put the vegetables in and cook the entire thing until it’s cooked through. When I get to the cooked stage, I can taste the ingredients to make sure there’s enough flavour throughout.

I then remove all the cooked ingredients out of my pan and start my roux. I keep the heat on low and melt the butter. Once the butter has melted, I put the flour in and make sure it’s completely absorbed. I cook it longer to make sure there’s no flour taste. I normally let the butter brown before I call it done, and the flour/butter mixture will be a dough like consistency.

Once I’ve achieved that stage, I put the milk in add mix with a whisk. As it cooks, the milk mixture becomes creamy and thick, like a gravy! When it’s about the thickness I’d like it, I will add in my cooked chicken and vegetables and taste it again. If I find my gravy is too thin, I cook it longer… if it’s too thick, add more milk. At this stage, you can add the corn if you opted in for it.

When this is ready, scoop the pot pie fillings into a shell. Then, cut the puff pastry into a shape to top it off. Sometimes, I purchase the pre-cut ones to make my life a little simpler.

Now, we just pop the entire thing in the oven and let it bake for about 40 minutes (or until the crust looks golden and delicious). I find in my oven, it takes about 40-45 minutes. Take it out and be careful as it’s really hot!

Now, you’re ready to enjoy your “kind of homemade” Chicken Pot Pie! 🙂

Homemade Pizza

I just made a bunch of ham and what I really wanted was a ham pizza. So, instead of going to the grocery store and purchasing a premade crust, I figured I would try my hand at making one.

Ingredients: (makes 1 medium or 2 small)
2 cups of All Purpose Flour
2 cups of water
1 package of yeast (traditional)
1 tsp salt
1 tsp sugar

The first thing you need to do is activate your yeast. I poured my yeast into a little bowl and put 1/4 cup of warm water to dissolve the yeast. Then, I added my teaspoon of sugar. Just leave it for about 10 minutes and it should have expanded and almost doubled in size.

From here, I mix together the flour and salt and the yeast mixture. Then I slowly combine with the rest of the water in stages. I keep mixing until a ball of dough forms. My dough ball here was much more sticky than it probably should have been, but I left it anyway. Just knead it for a few minutes and when you’re ready, let it sit to rise and rest. I put saran wrap on top and left it for about 45 minutes.

After the ball of dough has doubled in size, you can knead it out on a floured surface to the crust shape you like. I didn’t use a pizza tray or anything as I like it kind of rustic, so I just rolled out a thick crust of a random shape on my silicon mat.

After I got my crust ready, I now preheat my oven to 425F and I start decorating my pizza with toppings. I do this rather gently as I’m probably letting it rise again for the second time as I wanted my crust more bread like.

When your pizza is topped with all the goodies you would like, pop it into the oven for about 25 minutes. It comes out delicious, kind of like a pizza bread! 🙂 You could have brushed the crust with butter or oil or even egg wash if you like a prettier crust. I just left mine as is.

Now, after the cooking period, take the pizza out of the oven, and slice it if you want – but you’re ready to enjoy a simple and delicious home made pizza!

Homemade Simple Vanilla Creme Brulee

Home Made Crema Catalana

I’ve always loved Creme Brulee for any part of the day – dessert, snack with coffee/tea, and sometimes, even breakfast! I use to buy the pre-made ones, where you pour some sugar on top and burn the sugar with a torch. Then, recently, I started ordering them for dessert at restaurants, and realized it’s just not the same!! It’s suppose to be creamier and lighter and more “mousse” like than “pudding” like. So, I found a simple recipe which is slightly modified from Anna Olson’s show “Bake With Anna Olson” on Food Network.

Ingredients: (Serves 2)
1 cup cream
1 tbsp of vanilla paste
2 egg yolks
1/4 cup sugar

First, preheat the oven to 325F, and place some ramekins in a heat safe pan with sides – so we can give the creme brulees a water bath when we’re ready to bake. Also, set a strainer with cheese cloth on stand-by as we will use them!

Then, place the cream in a pot and heat it up really slowly. Add the vanilla paste in to infuse the cream. You can use the actual vanilla seeds if you have the vanilla pods. Stir gently and wait until it’s hot – but not boiling over.

Next, in another bowl, cream the 2 egg yolks together with sugar. Then, slowly combine the cream mixture into the egg yolk mixture. Be sure to go slow so you don’t cook the eggs!

Now, pour the mixture through the strainer with the cheese cloth so it’s strained into the ramekins! Use a spoon to take out all the air bubbles that you see on top! Then, place this in the oven and pour some boiling water into the deep dish that holds the ramekins – making sure you fill up to at least half way up the ramekin dish itself to gently cook the creme brulee.

Now, bake for about 20-25 minutes in the oven. I set my oven too high, and caused the egg to cook on the top – but it still tasted great! 🙂

Let the creme brulee chill completely, and then place into the fridge for at least 3 hours. When you’re ready to enjoy, sprinkle a layer of sugar on top and use a torch to burn the sugar!! It’s done and you’re ready to eat!

Sit down anywhere, anytime to enjoy this delicious and somewhat refreshing dessert as it’s creamy and decadent with a hint of sweetness!

Homemade Nutella Cookies

Easy Nutella Cookies

So, I guess there’s something called International Chocolate Day, and once I heard that, I went through my pantry to see what I had… so, I found enough ingredients to make a small batch of Nutella Cookies that are quick and simple! I must say, the house smells absolutely amazing right now!

Ingredients: (Makes about 18 cookies)
1 cup Nutella
2/3 cup All Purpose Flour
1/3 cup Wheat Flour
1 egg
1/4 cup sugar
splash of milk

First, preheat the oven to about 350F, you have to do this right away, since preparing the batter is quick and easy! Then, just mix all the dry ingredients together in a large bowl and mix lightly.

Once all the dry ingredients are incorporated, add the egg and nutella into the mixture. This will make a super sticky batter – but try to mix well. If you need the batter to be less thick, add about a tablespoon of milk. If it’s still really sticky, add more until the cookie dough combines into a nice consistency.

Then, I like to line my cookie tray with parchment paper, and I spoon out little cookie dough balls about the size of a ball that fits into a tablespoon. I roll these balls lightly and just place onto the cookie tray. As the cookie bakes, it will flatten itself, so you don’t need to flatten it – unless of course you want to! After all, they are YOUR cookies!

Now, you just place in the oven for about 10 minutes, and they should be a little lighter in colour and should be even colouring. You can always do the toothpick test if you want. But, remember it will continue to cook a little as you’re they’re resting on the cooling rack. So, this means you need to cool your cookies first on the cooling rack!