Homemade Chicken Pot Pie

It’s been awhile since I’ve posted my own cooking now… but, I recently was asked to make my best friend a fail proof recipe for something chicken and fail proof. I chose to teach her Chicken Pot Pie as it’s very versatile, and you really can’t goof on it.

Ingredients: Serves 2 (you can always make more!)
2 pieces of boneless/skinless chicken thigh (or 1 piece of chicken breast)
1 chopped carrot
1 chopped small onion (1/2 Large onion)
1 stalk of celery
1/4 cup Frozen corn (optional)
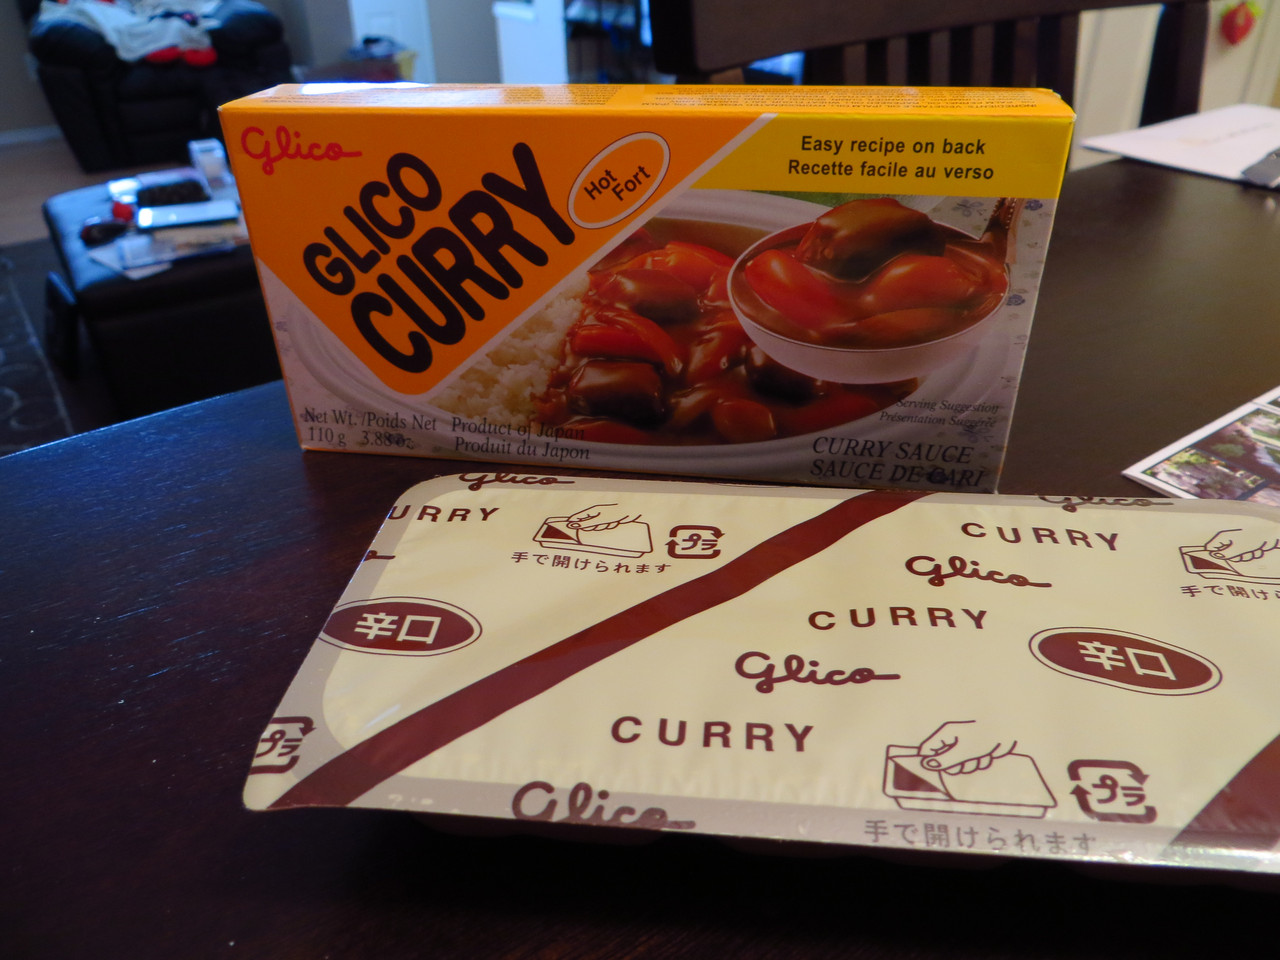
1 pack of puff pastry
1 tbsp butter
1 1/2 tbsp flour
3/4 to 1 cup milk

First off, preheat the oven to 375C or 400C, I like to use 375C on my toaster oven as I’m only making 2 pies. Then start by chopping all the vegetables and putting it aside. Then, chop the chicken, and I just do a quick marinade with just salt and pepper. You can add more flavouring to it if you want. Sometimes, I use seasoning salt as well…

Then, I saute the chicken in a pan, low and slow until it cooks through about half way or a little more than half way. Then, I put the vegetables in and cook the entire thing until it’s cooked through. When I get to the cooked stage, I can taste the ingredients to make sure there’s enough flavour throughout.

I then remove all the cooked ingredients out of my pan and start my roux. I keep the heat on low and melt the butter. Once the butter has melted, I put the flour in and make sure it’s completely absorbed. I cook it longer to make sure there’s no flour taste. I normally let the butter brown before I call it done, and the flour/butter mixture will be a dough like consistency.

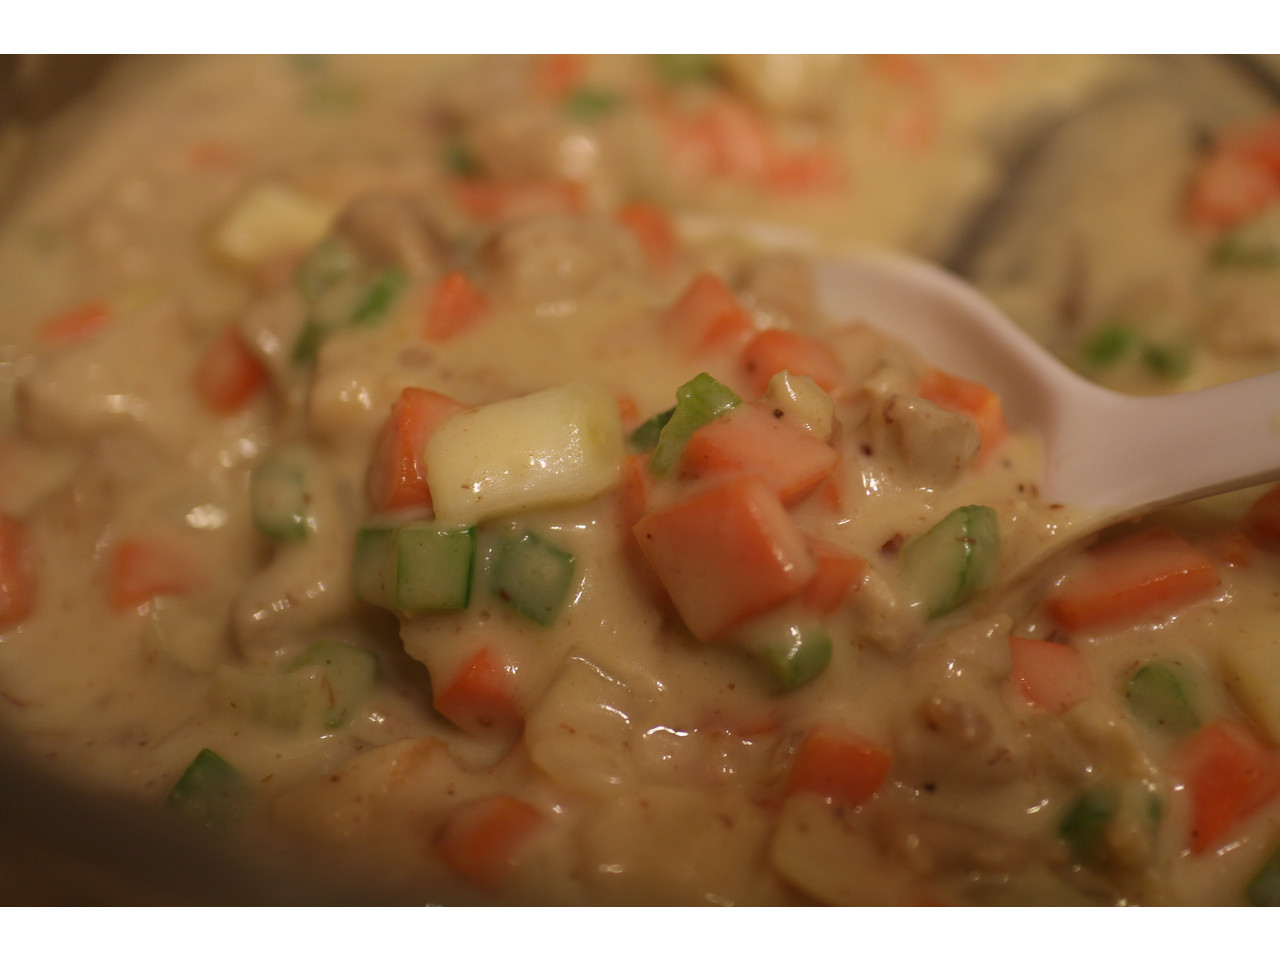
Once I’ve achieved that stage, I put the milk in add mix with a whisk. As it cooks, the milk mixture becomes creamy and thick, like a gravy! When it’s about the thickness I’d like it, I will add in my cooked chicken and vegetables and taste it again. If I find my gravy is too thin, I cook it longer… if it’s too thick, add more milk. At this stage, you can add the corn if you opted in for it.

When this is ready, scoop the pot pie fillings into a shell. Then, cut the puff pastry into a shape to top it off. Sometimes, I purchase the pre-cut ones to make my life a little simpler.

Now, we just pop the entire thing in the oven and let it bake for about 40 minutes (or until the crust looks golden and delicious). I find in my oven, it takes about 40-45 minutes. Take it out and be careful as it’s really hot!

Now, you’re ready to enjoy your “kind of homemade” Chicken Pot Pie! 🙂

Blue Dragon Tomato & Sweet Chilli Cooking Sauce

I haven’t cooked with my Blue Dragon cooking sauces in awhile now, and today I just felt like trying their Tomato and Sweet Chilli Cooking Sauce and I’ve got to say, it ranks really high in taste for me!

I made a simple dinner with this sauce so I first sauteed my onions with the chicken slices, until the chicken is almost completely cooked.

Once the chicken is almost done, I add the sauce, and mix it completely. Then, I add the asparagus (or any kind of vegetable). I just had fresh asparagus from the market, so it’s what I used for this day! 🙂

Now, I just let the entire contraction simmer away in the wok until the asparagus is at tender crisp – and I claim it done! It’s a delicious dish of food with tons of sauce to serve over rice – that’s how I had it!

Overall, I love this sauce and it’s a great balance of the spice and sweetness from the tomato. I’m sure I’ll buy this again as I’m sure it’s going to be great with noodles too!

Blue Dragon – Thai Red Curry Paste

I really love products out there that helps me make meals that are quick and delicious! I got to try this new paste from Blue Dragon called Thai Red Curry Paste that comes in a convenient jar.

Here’s my little recipe for my meal:
Ingredients: (serves 2 large portions)
– 2 carrots sliced
– 2 stalks of celery
– 1 small onion
– 4 to 5 white mushrooms
– 4 pieces of chicken thighs
– 1/2 jar of Blue Dragon Thai Red Curry Paste
– small can of Coconut Milk (165mL)
– Cooked Rice

I wasn’t too sure what to do with this sauce and on the back of it, it kind of states that it’s extremely versatile, so I decided to basically make stir fry with the sauce (stir fry with chicken and vegetables over rice), and it was really simple! I first prep my vegetables by cutting everything into even pieces. I just used whatever I had in the fridge, which was onions, celery, carrots and mushrooms. Of course, wash and cook your rice to start with. The entire meal takes about 30 minutes to make start to finish.

Put the vegetables aside, and slice the chicken thigh. I did do a quick marinade of salt and pepper as I love to add a little something on my meat – always! After it marinates for a few minutes, I heat up a wok and some oil. Then, I add the chicken to the wok and leave it for a few minutes. Once the chicken is about half cooked, I add in the onion and carrot into the wok. Once the chicken is almost cooked through, I add the rest of the vegetables and cook it until it’s a nice tender crisp.

Basically, we’re on the home stretch now – it really is this simple! From here, I add 1/2 a jar of the red curry sauce due to my portion sizes, and a small can of coconut milk. I turn the heat down as I like to cook my coconut milk gently. I stir and let my stir fry simmer away for a few minutes so it can absorb the great flavours.

From here, I added a few more chili flakes as I like my curries a tad spicer. But, we are ready to serve and eat already! Just get a bowl of rice and top it off with the delicious curry!

The finished product is filled with Thai flavours such as ginger, lemon grass, and chilies. It’s absolutely amazing and it tastes great even if you opt out the coconut milk.

Homemade Cha Trung – Vietnamese Steamed Pork Meatloaf with Egg

I was at a Vietnamese restaurant the other day, and all I really wanted was something I haven’t had in years, and it was Cha Trung, which is essentially pork meatloaf that is steamed cooked, with an egg on top. I figured it wouldn’t be hard to make, so I attempted my version of it – a simple one, but a good foundation to add all sorts of yummy ingredients to it!

Ingredients:
1 lb ground pork
1/4 to 1/2 cup chopped vermicelli noodles
2 large eggs, 1 eggs in the meatloaf, and 1 for the top
1/2 tsp salt
1 tsp Nuoc Mam (Vietnamese Fish Sauce)
1/2 tsp white pepper

Things that you can add are:
1/3 cup dry Nam Meo (Tree Ear Fungus), soaked
shredded carrots

The first thing, set up a steamer and bring the water to a boil. Then, chop up the the vermicelli noodles after it has softened. You can either soak it until soft, or cook it in salted boiling water until soft. Then, mix it with chopped onions.

Afterwards, add the meat in to the mixture and season… and then mix well so it is evenly seasoned. When it is mixed well, mix a egg that has been beaten into the meatloaf, and continue to mix.

When the meatloaf has combined thoroughly, spray some vegetable oil, or grease a steam proof container and pat your meatloaf into the plate. From here, beat the other egg and just pour it on top. If you like more eggs on top, then put a second one, to make a thicker egg cover. Then, cover the meatloaf with plastic wrap.

Steam the meatloaf for about 25-35 minutes depending on how thick the patty is. When it’s ready, be careful taking it out as it’s extremely hot. I cut it into wedges and I serve it with either rice or rice vermicelli and I pour Ngoc Cham! Of course, you can add more to the plate, but this is a simple meal that doesn’t take much time to prepare and when it cooks, it’s pretty much “set it and go” – just like cooking the rice in a rice cooker!

I’ve made this a few times now as it’s so easy to make and it feeds a lot for a small cost! The thing I love about this, I can add all sorts of things into the meatloaf, and it tastes amazing!

Glico Curry – Hot

I’ve always loved Japanese curry, it’s like a spicy “brown sauce” or “gravy”. Glico makes a convenient package of instant curry, and it tastes great!

Basically, to prepare this dish, pick a protein, and a handful of vegetables. Then, saute everything together until it’s brown and fragrant. Then, add either some stock or water to your pot, and chunks of the Glico Curry. Taste it as it dissolves so you can get the flavour – If you like it spicier, add more!

I really like my Japanese curry thick, so I thicken it after I’ve cooked it down (for about 30 to 45 minutes) with a slurry made with cornstarch and water.

I always like to serve this curry over rice, and I’m already ready to enjoy!