Homemade Steamed Cheung Fun – 腸粉

Home Made Rice Crepes – Dim Sum

Currently, I’ve been trying to make basic recipes to dim sum such that I can add things to basic recipes to make them better. Vegetarian style cheung fun can become something more when you add goodies in them before you roll up these crepes. This is also gluten-free as it doesn’t use any wheat products. Just be reminding to use a gluten-free soy sauce on the top!

Ingredients:
1 cup Rice Flour
4 tbsp Potato Flour
2 tbsp Cornstarch
2 tbsp oil
1 1/2 cup Water
Pinch of Salt

First, sift all the dry ingredients together. If you don’t have potato flour, I’m sure it’s fine to use tapioca flour. Both flours, you can find either at an Asian grocery store, or sometimes even in the natural section of your grocery store (gluten free flours).

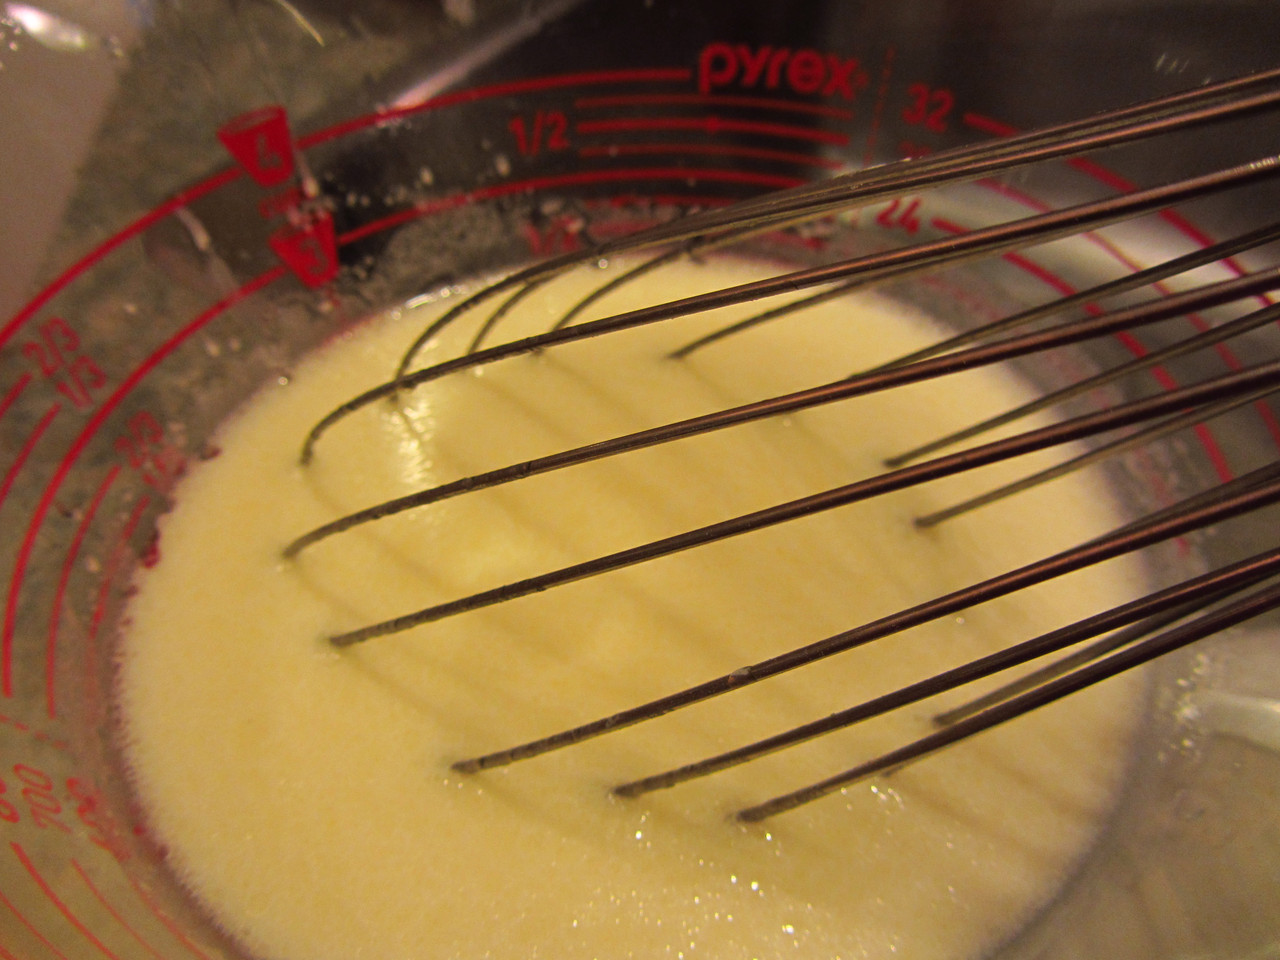
When the dry ingredients is all combined and fine, add the oil and water, plus a pinch of salt. This batter will become a very watery batter which I find it easiest to pour it into a big measuring cup as there is a spout making it easier to pour. Make sure you combine the mixtures well and it becomes smooth.

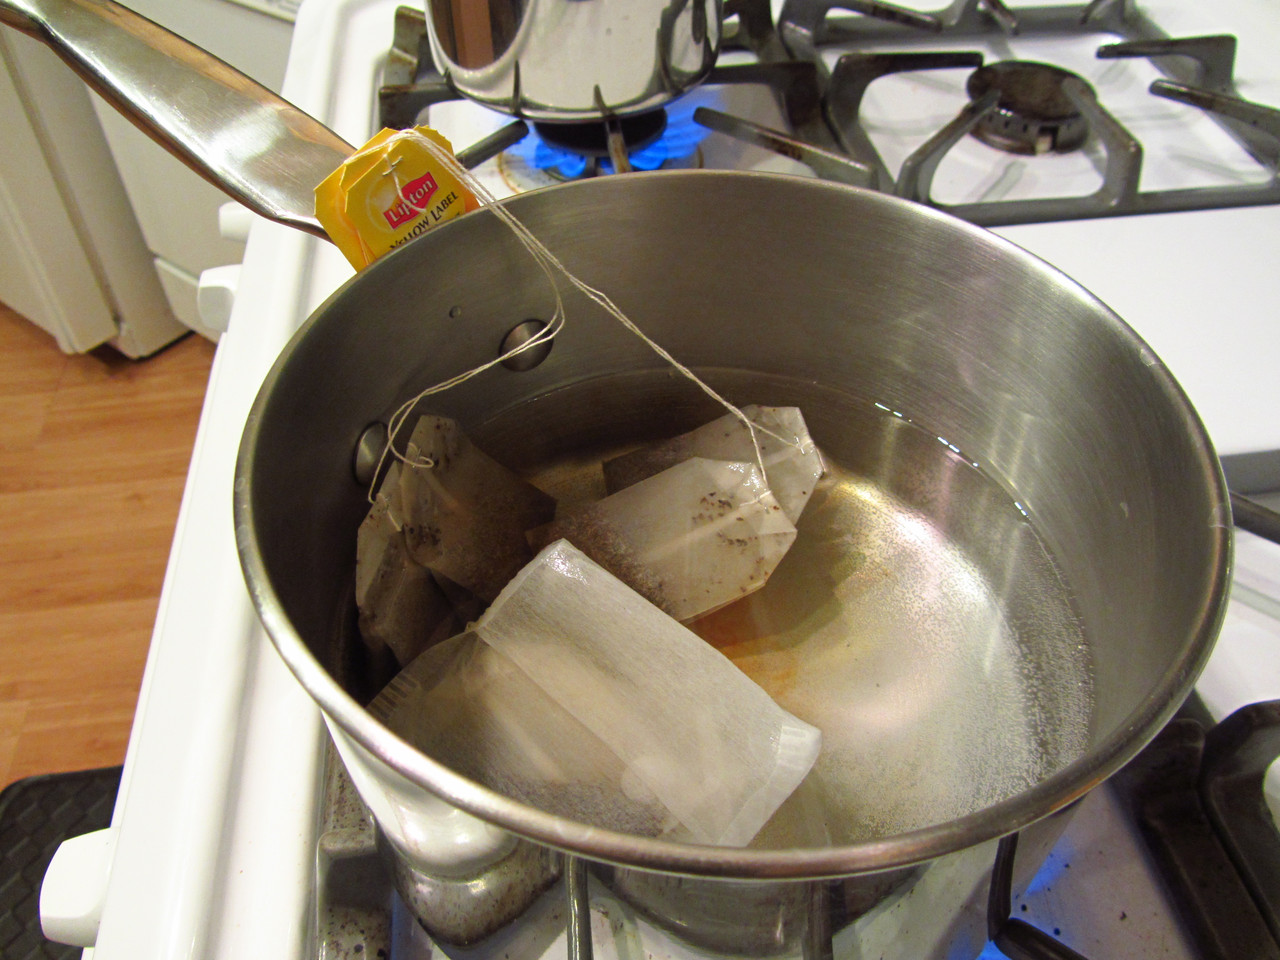
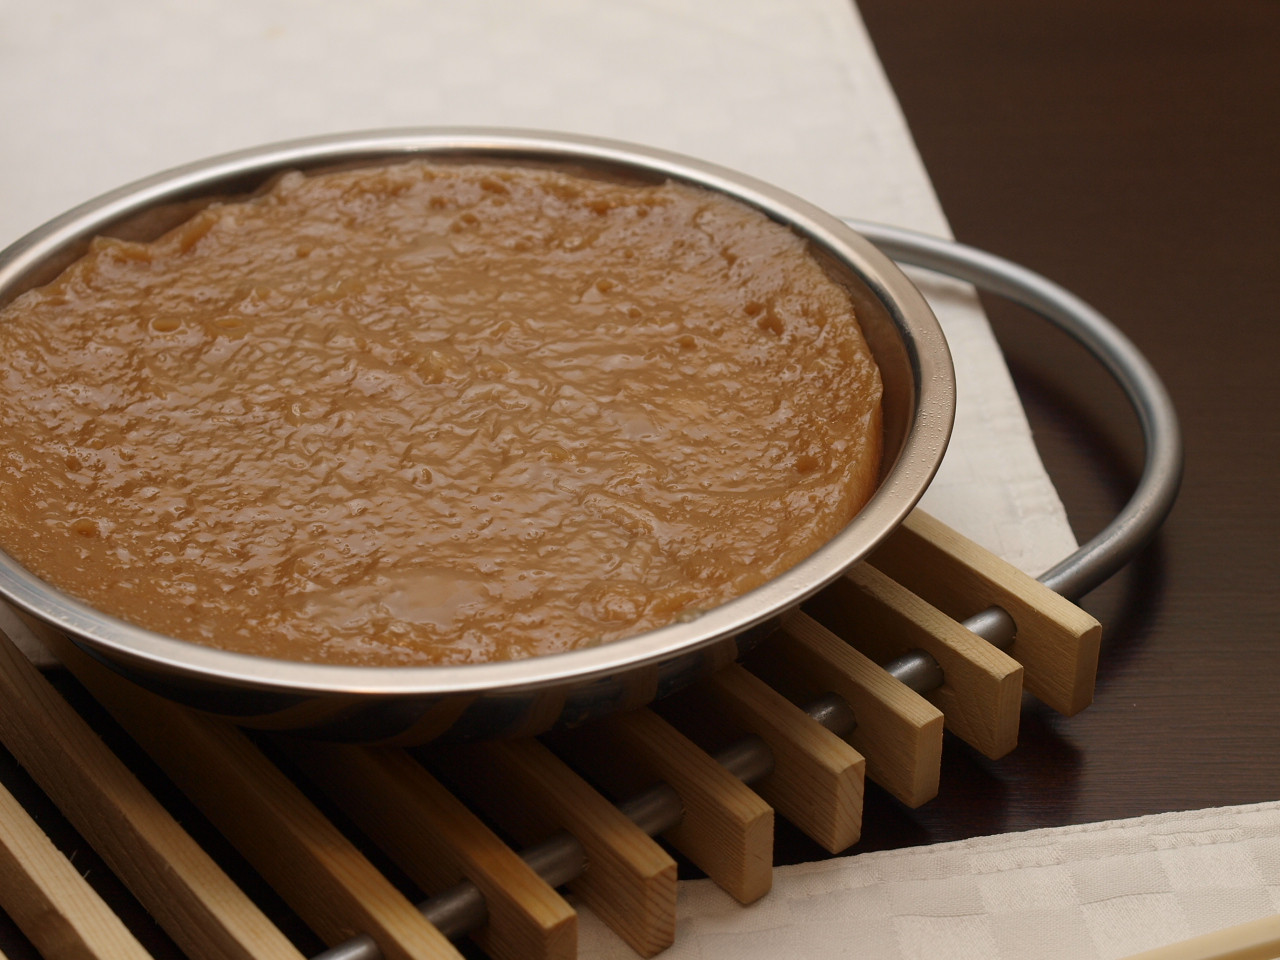
Once your batter is ready, set up your steaming mechanism – where I use a pot with a rack and a heat proof dish. Pour a thin layer onto this plate – just enough to cover the bottom.

Put the lid on to steam the rice crepes properly and let it steam for at least 7-8 minutes. Once it’s ready take it out of the steamer and let it cool for a little bit and roll it up. Once it’s rolled up nicely, cut it up and enjoy with some condiments.

As you know, there are many variations for this, and some ideas would be to add onions and dried shrimp to the actual batter, so there will be little bits throughout the crepe itself. Or, you can place some goodies at the edge of the crepe before rolling it up as well!

Homemade Dun Daan Recipe – 燉蛋

Steamed Egg Custard Sweet Dessert

I really enjoy simple Chinese desserts, and Dun Dan is one of those desserts that is simple and really delicious. I learned this recipe from my aunt and have always kept it in my recipe box. I’ve recently dug it out and now I’ll share this delicious wonder!

Ingredients:
1/2 cup of milk
1 egg
2-3 tablespoons of sugar (depending on how sweet you like it)
1/2 tsp vanilla extract

First, dissolve the sugar in the milk by whisking it together. You don’t need to heat up the milk or anything as it will dissolve over time.

Then, beat the egg until smooth and frothy – then which together with the milk mixture and add your vanilla extract. If you like a touch of ginger taste, this is when you’ll add some ginger juice.

When the mixture is smooth and mixed, get a strainer and strain the mixture into a steamable bowl (heat-safe bowl) such as a ramekin.

Place some saran wrap or tin foil over the bowl before placing this into the steamer – that way, it ensures no liquid will get into the bowl for a smooth custard. Steam the bowl for around 7 minutes. To test if it’s done, take some chopstick and tap the side of the bowl. If it jiggles like jelly – it’s ready. If it moves more like a liquid, then it hasn’t set.

You can either enjoy this delicious dessert hot from the steamer or let it cool down then chill it for a more refreshing dessert. It tastes wonderful both ways! We like to make 2 and enjoy one fresh and hot, and we eat the other one at a later time cold.

Homemade Hong Kong Style Nai Cha – 港式奶茶

Hong Kong Style Milk Tea Recipe

I recently been craving a lot of childhood goodies, and one of the things I really like is Nai Cha which literally translates to “milk tea“. It’s also known as “Pantyhose Milk Tea – 絲襪奶茶” as historically, they used pantyhose as a filter to make this tea smooth. I really enjoy the Hong Kong style Nai Cha which is quite dark and strong, so I’ve been playing around with ways to make my own version at home.

Ingredients:
4 cups of boiling water
6 Black Tea Bags
2-3 Tablespoons of Condensed Milk

First, in a pot, I add about 4 cups of water and bring it to a boil with the tea bags (with the bags in the water and the string sitting on the handle). I like to use Lipton Yellow Label Tea, but you can use whatever black tea you like.

Once the water boils with the tea bags, the water starts getting quite dark, and since I really like my Nai Cha strong, I reduce the heat a leave it at a simmer for awhile. I’ve been boiling it slowly for an hour.

Then, I let it cool a bit, put some condensed milk in the bottom of my cup and pour the tea on top.

Once I do that, the best part is next – stir and enjoy! These drinks are normally served with light meals or breakfast! But, I like this Nai Cha wherever and whenever!

Another alternative to this is the more traditional cafe style where you can replace the Condensed Milk with Evaporated Milk and sugar. Be sure to add the sugar before the evaporated milk if you choose to go that route! Both milks are wonderful in milk tea! If you’re craving iced milk tea, make the nai cha with either sugar and evaporated milk or condensed milk and allow it to cool for a bit. Then, in a tall glass, fill it with ice and pour the nai cha over the ice – stir and enjoy!

Homemade Chinese Nian Gao – 年糕

Sweet Sticky Rice Cake – Neen Gow

It’s that that time of year when we’re in our kitchens cooking up a storm and sharing goodies with family and friends. One goodie you’ll always see is the Nian Gao which is a very simple recipe that is very sticky with a hint of sweetness.

Ingredients (makes 1 – 8″ pan)
2 cups of Glutenous Rice Flour
300 mL boiling water
1 cup brown sugar or 5 sticks of peen tong (片糖)

Note: You can add more sugar if you like it sweeter – we like it much more subtle tasting!

Peen tong is basically Chinese Rock Sugar or Chinese Rock Candy and it comes in a pack of “slabs of sugar”. If you don’t want to purchase/use it, or simply can’t find it, a great substitution would be to use brown sugar – which is what I did as it was sold out when I wanted to get it!

First off, boil some water and dissolve the sugar into it. When it becomes a syrup, you’re ready to start making your nian gao! Measure out the glutenous rice flour and pour in your syrup. Caution, this is a boiling water mixture, but make sure it’s hot!!

Mix together until it’s smooth and creamy and pour it into the dish you’d like to steam your nian gao in before it gets cold.

Once the nian gao is ready in it’s dish, put it into the steamer for about 1 hour to an hour and a half. You’ll know it’s ready when you can move the edges and it’s set. If you stick anything into this cake, it’ll stick so the toothpick test is not a good idea in this case.

If you’re enjoying it right away, be sure to allow it to cool and set for at least 15 minutes. It will be really soft and gooey and very sticky at this point – but it’s always nice to eat freshly steamed food. If you like it properly made, once it’s cooled enough, pop it in the fridge for at least 3 hours where you can cut it up and serve.

One of the ways we like to eat nian gao is to pan fry it with an egg. So, we cut the nian gao into pieces and dunk it into a beaten egg before placing it on a fry pan with some oil. It’s very important to do this on low temperatures or the nian gao will melt and stick to your pan. You’ll know these are ready when it’s “soft and gummy”.

Things I’ve heard about nian gao, but I’ve never tried it – I guess you can bake your nian gao instead of steaming it, and you’ll get a crunchier topping and more cake-like. It does however use another recipe but I don’t know it and haven’t tried it yet. But, I’m thinking I should one day! I’ve also heard that nian gao’s are extremely freezable, and when you want to enjoy it again, just steam it back up! It could be handy if you’ve received one too many for New Years!

Homemade Dong Gua Tong – 冬瓜湯

Wintermelon Chinese Soup

In my family, most of my Chinese soups begin with the same base, and for the most part, this soup is no exception.

1 lb of pork bones
1 slice of dong gua
5 or 6 dried shiitake mushrooms
3 tablespoons of dried shrimp
1 or 2 dried scallop
2 tablespoons of ginger
2-3 carrots
1 piece of dried orange peel

It is good to rehydrate all the dry ingredients a few hours ahead if you can. If not, it’s not a big deal as it all cooks together and will soften.

First, take a pot of boiling water and cook the pork bones in the pot of water. Then, when it’s cooked through (or most of it), rinse it with cold water and place into a soup pot.

In a the soup pot with the cooked pork bones, place peeled carrots which is cut into large chunks, dong gua into chunks as well – which I usually leave the peel on as well, so make sure you clean everything, and the ginger! Then, I place all the dry ingredients into the pot and fill it up with cold water.

Once the water boils, reduce the heat to low and let it simmer for at least 3 hours. The longer you let it simmer, the more flavours get developed into the soup. When you’re ready to enjoy, skim the fat off the top and add some salt to taste! Then, serve and enjoy this refreshing winter melon soup!

This particular time, we bought the edge of the dong gua and my other half decided it would be fun to make a bowl out of it as a dong gua zhong – winter melon pot. If you’re doing this properly, you steam the soup in this bottom piece and it then acts as a serving platform. Here, we just carved it and he used it as a bowl.