So, the last time I went to Vegas, we had a combination of food from tourist locations and local. We went for some Chinese cuisine in areas where locals are more likely to go. We went to Asian BBQ & Noodles located in a strip plaza, which really wasn’t too far off the strip, but definitely easiest with a rental car. This stop was more like a second lunch, or a snack so the 3 of us only ordered a few things to share.

We enjoyed a plate of Yang Chow Fried Rice, and in fact it was a fairly large plate, especially for it’s price. I don’t currently remember any of the prices, but I know they are very reasonable with large delicious portions. It definitely was enough to share everything! The fried rice had lots of ingredients in it, and seasoned perfectly! it’s so easy to eat the entire plate by myself because it was so good!

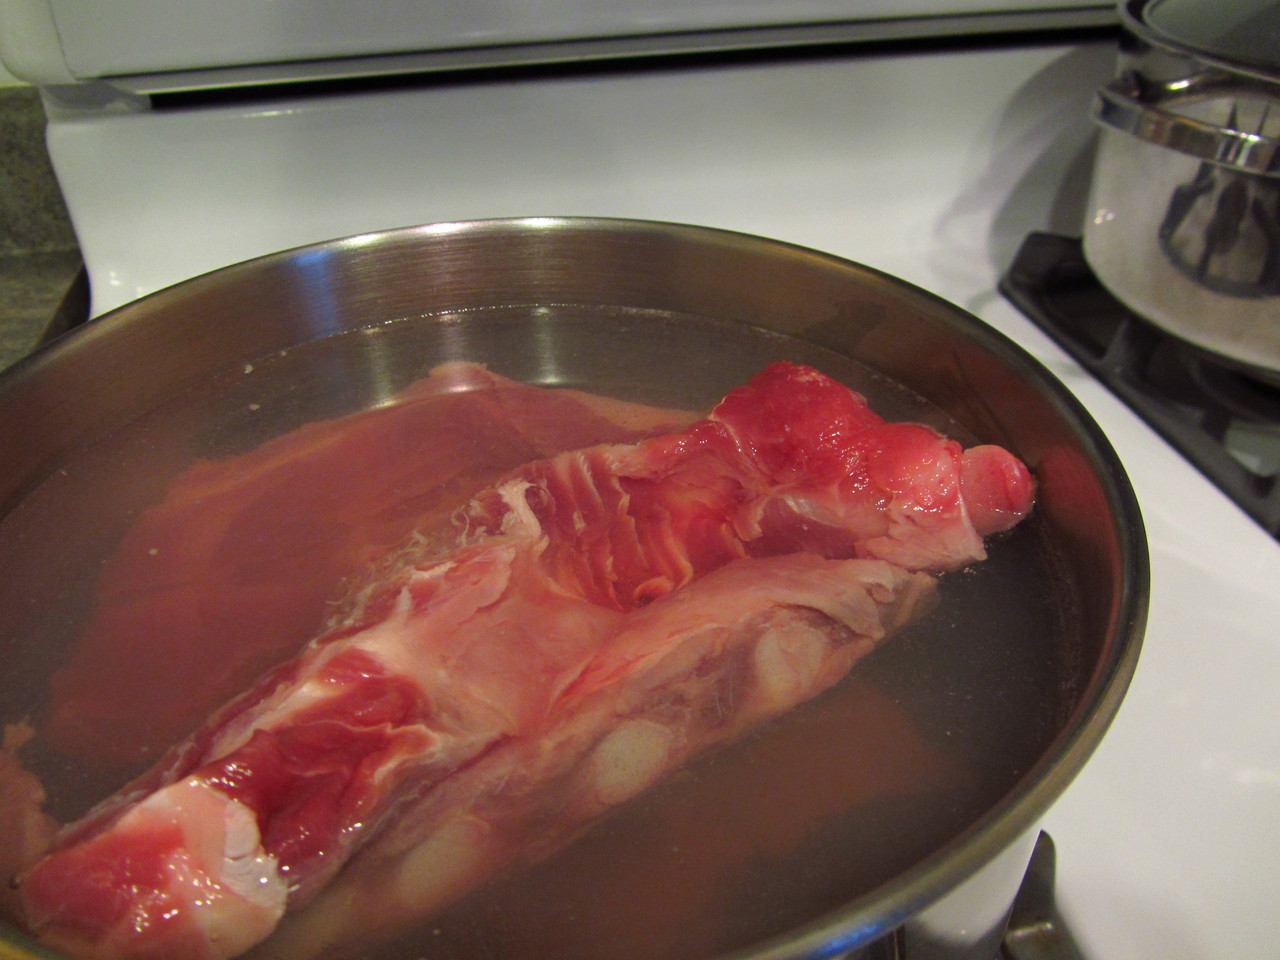
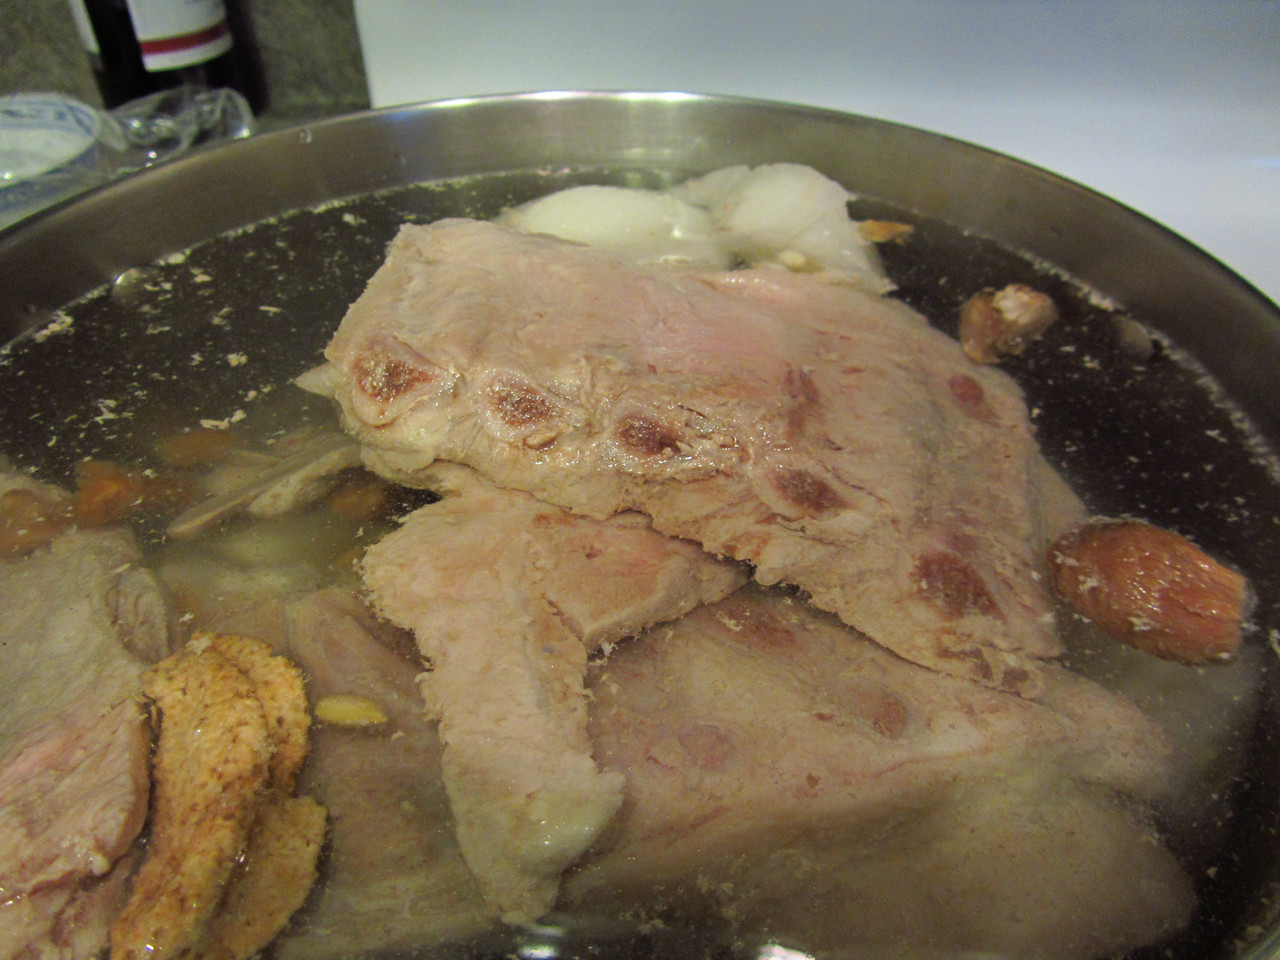
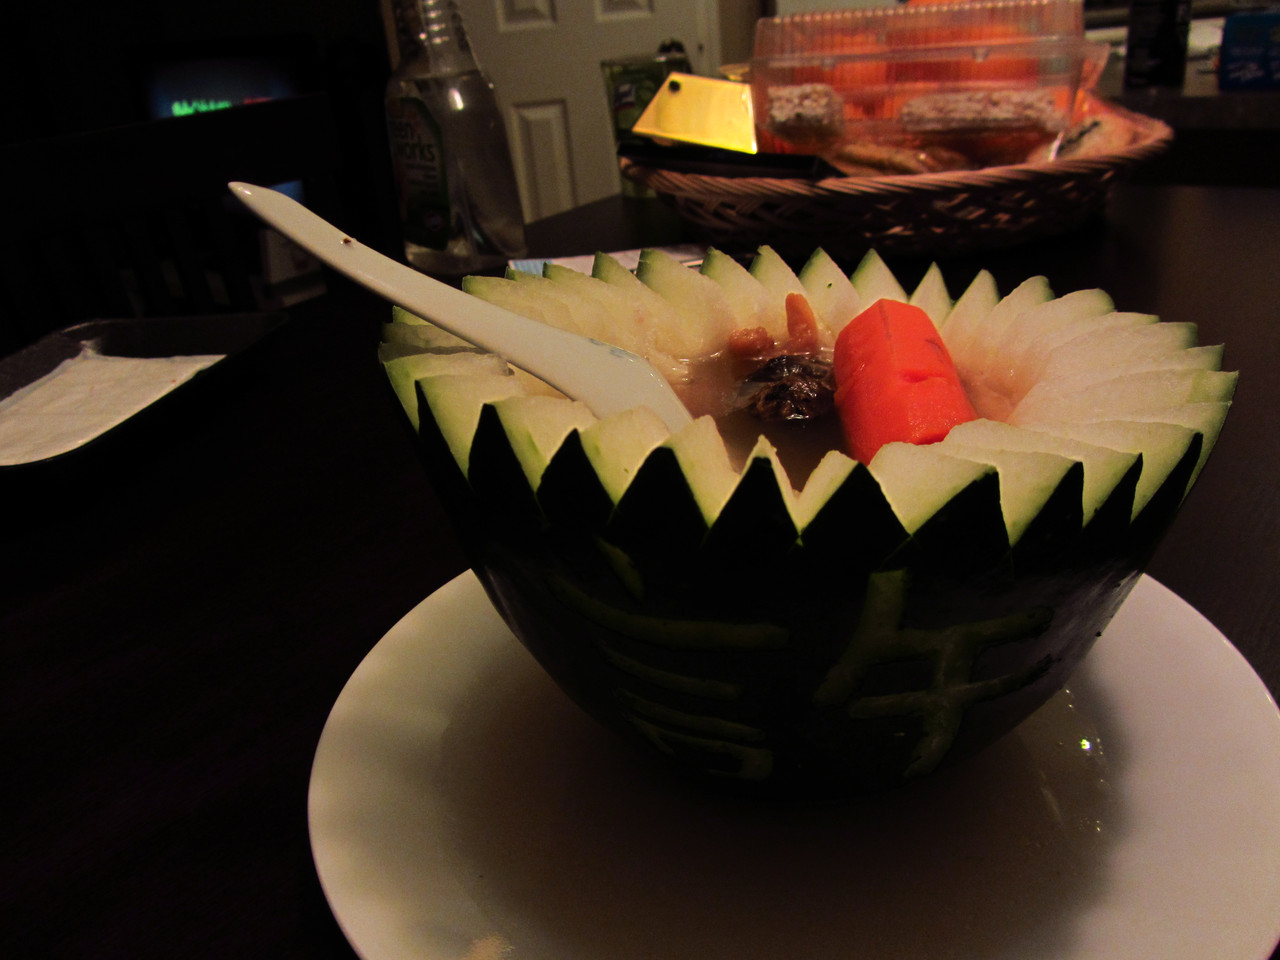
A bowl of Wonton Noodle Soup was something that really hit the spot! There’s nothing as calming for me than a bowl of noodle soup – especially when the soup is “clear” versus soup with lots of things in the soup or very flavourful (spicy, coconut milk, etc). The wontons here were enormous!

And has some Gai Lan with Oyster Sauce, as we needed some vegetables. Sure, the gai lan looks a little big, but they cooked it just long enough where it’s still crisp, but tender! Good job for them with the boiling of it! 🙂 It was just the perfect plate of veggies for this snack!

Overall, I do enjoy this location! It was actually busy – even at these odd times of day where it wasn’t lunch or dinner. People were coming in and ordering from the hot buffet section and their phones was ringing off the hook for take-out! It’s nice to see such success for little restaurants like this!

Everything tasted really good and the prices were extremely well priced! This is definitely a place to try if you’re craving a little local Chinese food that is worth your pocket change!
Asian BBQ & Noodles
3400 S. Jones Blvd, #5C
Las Vegas, NV
(702) 202-3636