Homemade Bor Lor Bao – 菠蘿包

Home Made Chinese Pineapple Bun Recipe

Ingredients (makes 4-6 mini buns):
Dough:
1 1/2 cup flour
1/2 tbsp yeast
1/2 tbsp butter
1/4 cup milk
1 egg beaten
pinch of salt
pinch of sugar
oil

Topping:
2 1/2 tbsp sugar
2 tbsp butter
1 egg yolk
1/4 tsp baking soda
1 tbsp milk
1/2 cup flour
1 tbsp baking powder

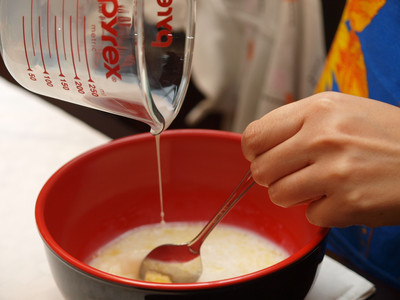
First, you make the yeast solution for the yeast to activate by mixing the yeast with a pinch of sugar, 1/2 cup of flour and 1/4 cup warm water

Once the solution has become frothy and has doubled in size, you’re ready to start making the dough. Melt butter, then add milk to the butter.

In a large mixing bowl, combine eggs to the flour and then incorporate the milk mixture and yeast mixture. Knead for a few minutes until a ball of dough forms. You may need to add more water or flour depending on the consistancy.

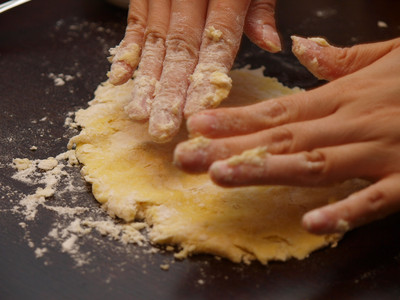
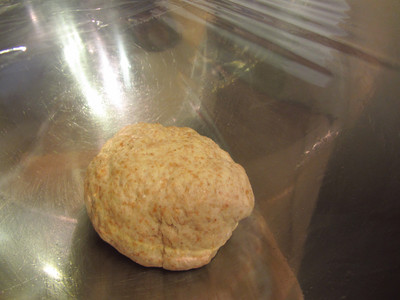
Once the ball of dough is formed, take another mixing bowl and grease the sides. Put some plastic wrap on the top – or a wet tea towel and wait for 2 hours for the dough to rise. In the mean time, you can make the topping as it needs some time to set in the fridge. To make the topping, cream together the butter and sugar until smooth. Then, add in the egg yolk with milk and mix again. Next comes the flour, baking soda and baking powder. Once this comes in, be sure to mix to combine only. Do not over work this mixture. Form into disks and refrigerate.

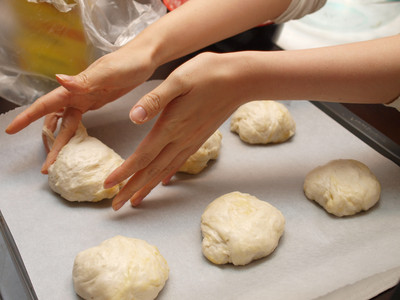
After you proof the dough, cut it up into the portion size you’d like your pineapple buns to be. Keep in mind they will rise again, so they’ll be bigger than you make them!

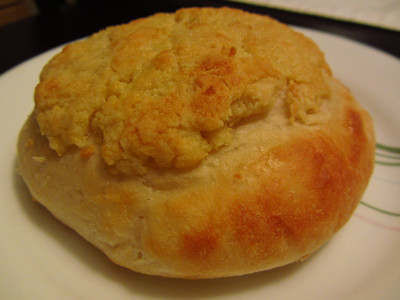
Once you got them portioned out, place the topping and place it on the bun with egg wash. Then, let them rise for a second time. You can score diamond markings on the top of the topping or just leave it – as the diamond texture simulates the look of a pineapple.

When you’re ready, bake in a 375F oven for 10-12 minutes when a toothpick can come out clean – then you’re ready to enjoy!

To get the shiny topping which I didn’t do, you can brush the top with some egg wash (beaten egg with some water mixture).

Homemade Wheat Bread Roll

Home Made Bread Bun

I was on a soup and sandwich for a little while, and all I needed was 2 fresh rolls for lunch! So, I’ve made a little recipe to make either 2 “longer” rolls, or 4 buns.

Ingredients (Serving size 2-4 rolls):
1 package of yeast
1 cup Wheat flour
1/2 cup All Purpose Flour
1/2 cup warm water
1/4 tsp sugar
1/4 tsp salt

First, I activate the yeast by mixing the yeast into the warm water with some sugar. After about 10 minutes, it should become frothy – if it doesn’t, start this step again as the yeast didn’t activate.

I then prepare all the other ingredients for the bread in another large mixing bowl. If you’d like it all white bread, swap it out for whatever flour you would like! Add a pinch of salt into the flour when all the flour is mixed together.

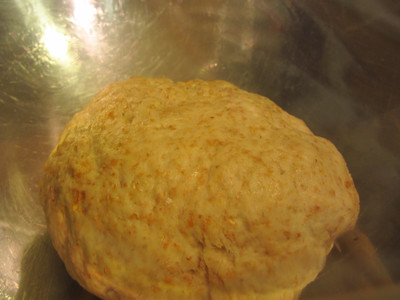
Afterwards, incorporate the yeast mixture into the flour mixture and roll make it into a ball. If it’s too stiff, add some more warm water, and if it’s too sticky, add some more flour (of whichever kind you like). Knead the dough for a few minutes and shape into a ball and let it rise!

Once the dough has doubled in size, proof the dough (deflate the dough) and knead again for a little bit.

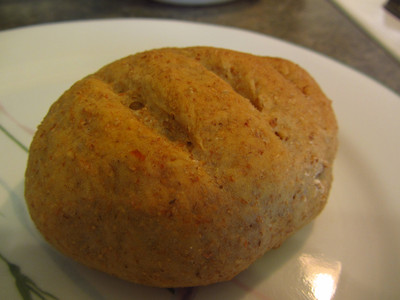
Then, form into rolls the shape and approximate serving size you’d like, and leave alone to rise a second time. Once it’s doubled in size again, just pop them into a pre-heated oven at 450F for 20 minutes

I cut a few slits on the top of my rolls before popping them into the oven for decoration. You can choose to do this step or not, or sprinkle poppy seeds, sesame seeds, sunflower seeds or whatever you like!

>

Now, I got my roll to make a delicious sandwich for lunch! Was it worth it? I think so! 🙂 I got some delicious cheese and deli meat to complete this fantastic lunch. Making plain bread opens the doors for many ideas for sandwich making!

Homemade Spicy Sweet Potato Soup

I was wanting to make a soup for lunch – with a sandwich, so I roamed the grocery store and found some nice sweet potatoes. So, I figured I can make a delicious Sweet Potato Soup

Ingredients:
4 Cups Chicken Stock
1 lb chopped sweet potato
1 chopped onion

Seasoning:
Smokey Chipotle
White Pepper
Black Pepper
Cayenne Pepper
Salt

I first chop my onions and saute them until they’re golden. While they’re browning away, I chopped up my sweet potatoes into sticks. I got lazy to do them into chunks – which didn’t matter anyway as I use an immersion blender to make the soup thick and smooth afterwards.

When the onions have softened, I add the sweet onions into the pot and give it a few minutes to develop it’s flavours.

After a few minutes, I add the chicken stock into the pot and turn down the heat. After about 45 minutes, the sweet potatoes have soften – so I use the immersion blender in the soup. You will find the soup is quite thin, so let it cook down some more and it’ll thicken more and the flavours will become stronger.

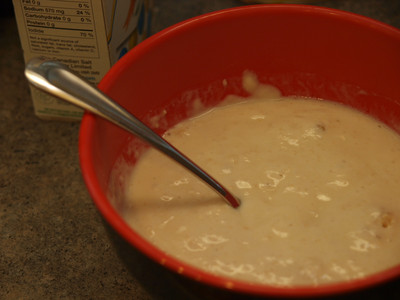
Once the soup is to the right consistency, I then season up the soup and serve. This was my version of spicy sweet potato soup so I added smokey chipotle seasoning, cayenne pepper, white pepper, black pepper and some salt. I served this in a bowl with a gallop of sour cream. I’m not sure how much seasoning I used, but I kept tasting it until I was satisfied with the end result. It’s always best to add a little at a time until instead of adding too much and not knowing how to reduce the flavours.

Serve this soup hot and it’s really delicious. The sour cream helps cool the heat from the spicy, so it was a bowl of soup that was beautifully balanced.

Homemade Steamed Cheung Fun – 腸粉

Home Made Rice Crepes – Dim Sum

Currently, I’ve been trying to make basic recipes to dim sum such that I can add things to basic recipes to make them better. Vegetarian style cheung fun can become something more when you add goodies in them before you roll up these crepes. This is also gluten-free as it doesn’t use any wheat products. Just be reminding to use a gluten-free soy sauce on the top!

Ingredients:
1 cup Rice Flour
4 tbsp Potato Flour
2 tbsp Cornstarch
2 tbsp oil
1 1/2 cup Water
Pinch of Salt

First, sift all the dry ingredients together. If you don’t have potato flour, I’m sure it’s fine to use tapioca flour. Both flours, you can find either at an Asian grocery store, or sometimes even in the natural section of your grocery store (gluten free flours).

When the dry ingredients is all combined and fine, add the oil and water, plus a pinch of salt. This batter will become a very watery batter which I find it easiest to pour it into a big measuring cup as there is a spout making it easier to pour. Make sure you combine the mixtures well and it becomes smooth.

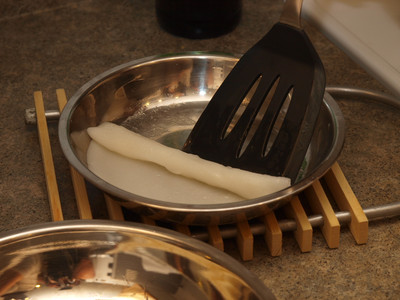
Once your batter is ready, set up your steaming mechanism – where I use a pot with a rack and a heat proof dish. Pour a thin layer onto this plate – just enough to cover the bottom.

Put the lid on to steam the rice crepes properly and let it steam for at least 7-8 minutes. Once it’s ready take it out of the steamer and let it cool for a little bit and roll it up. Once it’s rolled up nicely, cut it up and enjoy with some condiments.

As you know, there are many variations for this, and some ideas would be to add onions and dried shrimp to the actual batter, so there will be little bits throughout the crepe itself. Or, you can place some goodies at the edge of the crepe before rolling it up as well!

Homemade Dun Daan Recipe – 燉蛋

Steamed Egg Custard Sweet Dessert

I really enjoy simple Chinese desserts, and Dun Dan is one of those desserts that is simple and really delicious. I learned this recipe from my aunt and have always kept it in my recipe box. I’ve recently dug it out and now I’ll share this delicious wonder!

Ingredients:
1/2 cup of milk
1 egg
2-3 tablespoons of sugar (depending on how sweet you like it)
1/2 tsp vanilla extract

First, dissolve the sugar in the milk by whisking it together. You don’t need to heat up the milk or anything as it will dissolve over time.

Then, beat the egg until smooth and frothy – then which together with the milk mixture and add your vanilla extract. If you like a touch of ginger taste, this is when you’ll add some ginger juice.

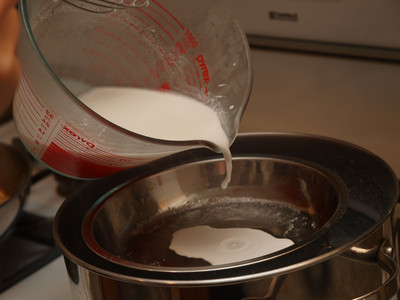
When the mixture is smooth and mixed, get a strainer and strain the mixture into a steamable bowl (heat-safe bowl) such as a ramekin.

Place some saran wrap or tin foil over the bowl before placing this into the steamer – that way, it ensures no liquid will get into the bowl for a smooth custard. Steam the bowl for around 7 minutes. To test if it’s done, take some chopstick and tap the side of the bowl. If it jiggles like jelly – it’s ready. If it moves more like a liquid, then it hasn’t set.

You can either enjoy this delicious dessert hot from the steamer or let it cool down then chill it for a more refreshing dessert. It tastes wonderful both ways! We like to make 2 and enjoy one fresh and hot, and we eat the other one at a later time cold.