Homemade Pot Sticker Dumplings – ้‹่ฒผ

I’ve made potsticker dumplings or wor-tips before, but recently, I’ve got some co-workers who seem to have fallen in love with them. So, I decided I will make another batch just for them! This time, I was only able to find lean ground pork, so it was a little dry – and they ate it all up! I’m so proud of my coworkers! ๐Ÿ™‚

Ingredients: (makes about 4 dozen using perogy press)
about 1 lb ground pork
3-4 leaves of nappa cabbage (Chinese Cabbage)
1/2 small onion
1 tbsp grated ginger
2 gloves garlic
1 tbsp Chinese 5 Spice
1-2 tsp white pepper
1 tsp salt
1 tbsp Worcestershire sauce
1 tbsp soy sauce
2 tbsp oyster sauce

Skin recipe:
3 cups all purpose flour
1 1/2 cups of boiling water (make more in case it’s too dry to come together)
salt

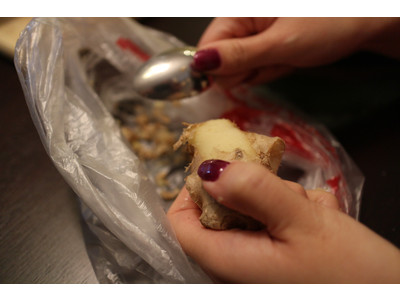
So, yes, the ingredient line up seems long but it’s all good, as it’s just typical ingredients any Asian would have in their pantry! First, wash the cabbage and peel the onion, ginger and garlic. I cut my cabbage into little pieces, and I grate the onion garlic and ginger. I put all these ingredients into a bowl.

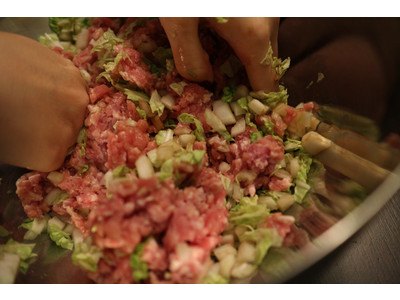
From there, we can add the ground pork into the mixture, and mix a little bit.

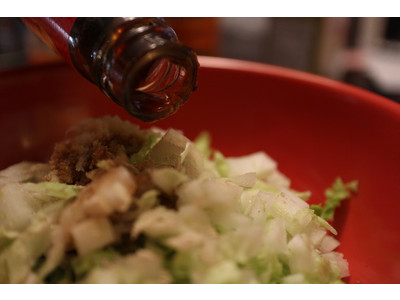
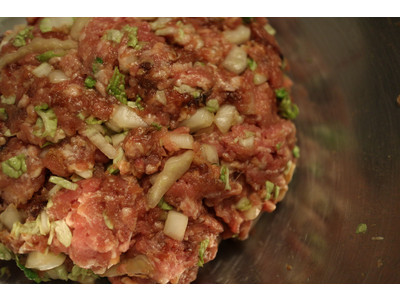
Now, we can season it. It sounds funny, but you can add whatever you want and how much of it as you want. I don’t cook using measuring things, so it’s all “rough estimates”. Add whatever seasonings you like, add it as flavourful as you like, it’s yours and make it yours! So, from here, just add all the goodies and mix well. Oh yeah, you don’t like pork, don’t use pork! ๐Ÿ™‚ I like it on the fattier side so it’s “juicier”!

I let my meat sit in the fridge for about an hour just to marinate the flavours a bit. If you like the meat firmer, crack an egg into it – kind of like a meat loaf filling. I like to leave mine alone.

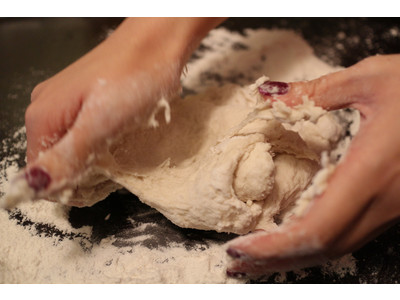
Now some time has elapsed, we can start making the dumpling skins! It’s super simple and I do remember learning this from my grandma. But, I did have to cheat a little and verify with “Google” the right amount of water to flour, which is also a silly thing as all we’re making is a soft dough. If it’s too dry, add more water and vice versa! But, start by putting the flour in a large enough bowl to mix, and pour some salt on top and mix it around a little bit.

You pour the boiling water right into the flour mixture. Grandma use to just use her hands and mix. I do not recommend it as you will probably burn yourself. I think you should use a mixing spoon or something like it! But, mix it until it forms into a nice ball of dough. When this happens, take it out an knead it for a little bit, just enough to keep the ball together.

Now, I usually cut the dough into smaller pieces so it’s easier to work with. Keep the other dough not being used covered with a damp cloth. Roll out the dough so it’s flat and even. If you’re picky, run it through the pasta machine so it’s uniform in thickness.

Now we got strips of dough and we’re good to go to cut out circles! You can either just fill them and seal the edges with just some water, which is the traditional way… but I wanted to use my perogy press this time, so it looks the same. It wasn’t a great idea as you can’t STUFF them, but it’s okay.

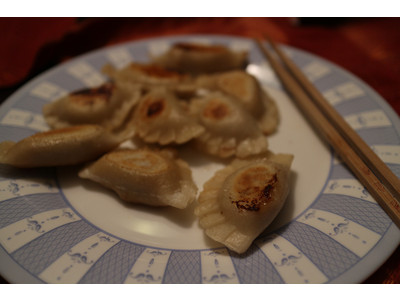
There you go, you’ve made dumplings! If you’re freezing them, put them on a cookie tray so they don’t touch each other and freeze them individually first before you put them into a ziplock bag. This will prevent them from sticking together. Now, we pan fry them (or steam them, or how ever you want to enjoy them)!

Okay, I make it sound like it’s the simplest thing in the world, it is once you get the hang of it! It’s okay, practice makes perfect and as long as it tastes good, who cares how it looks! My first batch was really ugly! I’ll actually show you! ๐Ÿ™‚ Just put the prettiest one up front, and it’s alright!

Homemade Blueberry Pancakes

Well, this sounds a little strange but I’ve never tried to make my own pancakes before, let alone Blueberry Pancakes. I just realized it’s such a simple recipe as my co-workers told me if I want it more runny and thin, add more water. If I want it thicker and fluffier, add more flour. So, I made the fluffy version!

Ingredients: (makes 4 pancakes)
1 cup of flour
1 1/2 tbsp sugar
2 tsp baking powder
1 large egg
1 cup milk
blueberries
oil

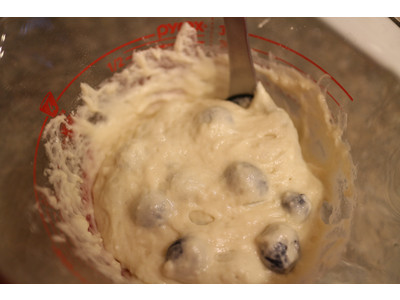
This recipe is so simple, I actually just mixed all the dry ingredients in a bowl and then mixed the wet ingredients in… all in the same bow. I mixed until it was smooth, and let it sit to rest for a bit.

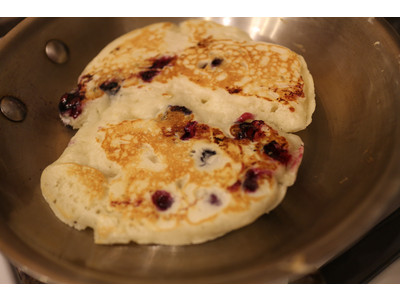
From there, I heated up my frying pan with a thin layer of oil. I made sure it gets nice and hot. Once the bubbles start forming and come to the top, you know you’re ready to flip!

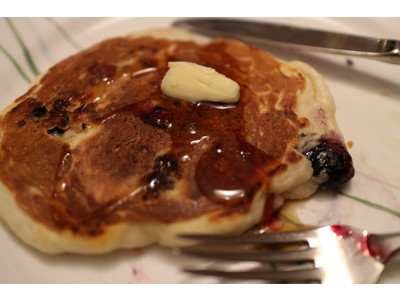
Then, I just made it toasty in colour, served hot, topped with some butter and maple syrup! It’s delicious for you and your family to enjoy!

Homemade Pizza

I just made a bunch of ham and what I really wanted was a ham pizza. So, instead of going to the grocery store and purchasing a premade crust, I figured I would try my hand at making one.

Ingredients: (makes 1 medium or 2 small)
2 cups of All Purpose Flour
2 cups of water
1 package of yeast (traditional)
1 tsp salt
1 tsp sugar

The first thing you need to do is activate your yeast. I poured my yeast into a little bowl and put 1/4 cup of warm water to dissolve the yeast. Then, I added my teaspoon of sugar. Just leave it for about 10 minutes and it should have expanded and almost doubled in size.

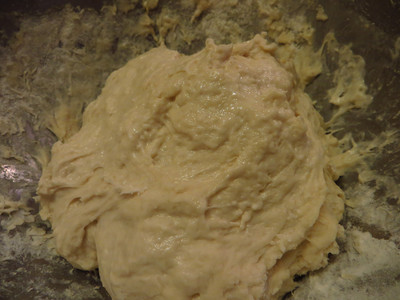
From here, I mix together the flour and salt and the yeast mixture. Then I slowly combine with the rest of the water in stages. I keep mixing until a ball of dough forms. My dough ball here was much more sticky than it probably should have been, but I left it anyway. Just knead it for a few minutes and when you’re ready, let it sit to rise and rest. I put saran wrap on top and left it for about 45 minutes.

After the ball of dough has doubled in size, you can knead it out on a floured surface to the crust shape you like. I didn’t use a pizza tray or anything as I like it kind of rustic, so I just rolled out a thick crust of a random shape on my silicon mat.

After I got my crust ready, I now preheat my oven to 425F and I start decorating my pizza with toppings. I do this rather gently as I’m probably letting it rise again for the second time as I wanted my crust more bread like.

When your pizza is topped with all the goodies you would like, pop it into the oven for about 25 minutes. It comes out delicious, kind of like a pizza bread! ๐Ÿ™‚ You could have brushed the crust with butter or oil or even egg wash if you like a prettier crust. I just left mine as is.

Now, after the cooking period, take the pizza out of the oven, and slice it if you want – but you’re ready to enjoy a simple and delicious home made pizza!

Homemade Seitan (Gluten) Puffs – ้ฝ‹้บต็ญ‹

Home Made Seitan Puffs or Braised Gluten

I’ve always loved Seitan and I’ve never learned that term until recently. I was thinking about one of my aunts who makes delicious “sweet and sour gluten” and really wanted to make it myself – so I attempted to figure out how to make the basic seitan first, and then we’ll go from there.

Seitan is a meat alternative, and I guess it’s got proteins in it. Basically, you take flour and knead it until it gets tough – or form the gluten. The more you knead for this recipe, the better. Then, you was away the flour such that you’re left with the gluten (or what they call seitan).

Ingredients:
1 cup bread flour (or gluten flour)
1/2 cup water
1/4 tsp salt

Basic ratio turns out to being 2 parts flour and 1 part water with a pinch of salt. It seems to work really well for this! Combine the 2 ingredients until they form a dough, and knead, and knead. This will be helpful if you have a machine that can do it for you! I used bread flour as I couldn’t find gluten flour anywhere (I wanted a Chinese brand, but basically the more gluten your flour has, the better!). If you use All Purpose Flour, this will work too, but you’ll be washing out more than half of the dough’s size as not as much gluten is formed.

After extensive kneading, the dough should be a tad tough with a lot of give. If you poke your finger at it, it should bounce back – almost looking as though you didn’t poke it at all. At this point, I let it sit as I set up the sink tap to a comfortable warm temperature.

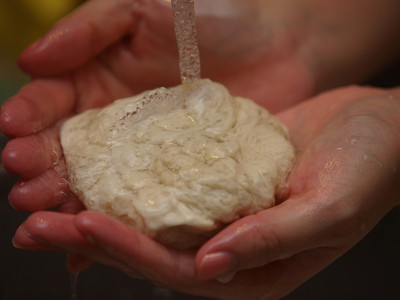
Once the water is at a nice temperature, I just keep washing the dough, and the flour will eventually wash out. You’ll be left with something that looks stringy, but it’s holding on together. It’s quite a delicate process, so treat this with care – you don’t want to be breaking it up into part, or you’ll never get it back together!

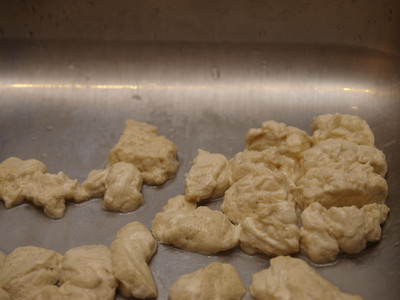
When you think the water from the dough has started to run clear, or close to it – you’re probably done washing the flour out. For me, as I’ve used the bread flour, I did loose about half the dough, but it’s no big deal. I just went and made another batch! Notice the texture on the left, as it’s really “brain like”…

From here, I chop up the gluten into little pieces as I’m experimenting, I like mini portions. I set up some oil to fry with, and it’s important it’s at a low heat with hot oil. Since it’s made with a lot of water, it can either blow up or cause a lot of splashing if the oil is too hot. I just leave the seitan sitting there as the oil comes up to temperature.

Now, when the oil seems hot (poke a wooden chopstick in the oil, and it starts bubbling around the chopstick), I’m ready to start frying! Ideally, they will puff up and you just keep moving the pieces of gluten so they don’t stick to each other! I pull them out when they’re golden brown.

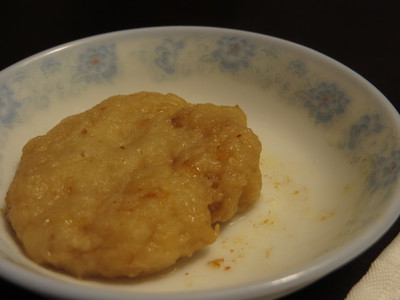
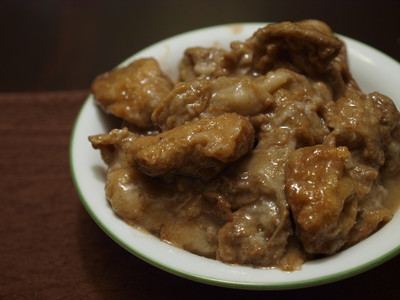
Alright, now we got our seitan puffs, I just make a nice braising liquid. This time, I used a curry and I braise it for a few hours until the flavours get in. Once it’s flavourful, you’re ready to enjoy seitan! You can change up the braising flavours, and like I mentioned, my favourite is the sweet and sour sauce, or ketchup one… so I will have to experiement with that!

I actually braised mine in a slow cooker and I must admit, I did over braise it such that it was a little too mushy!! So, keep an eye on it if you’re doing it for the first time (unlike me!)

Homemade Simple Vanilla Creme Brulee

Home Made Crema Catalana

I’ve always loved Creme Brulee for any part of the day – dessert, snack with coffee/tea, and sometimes, even breakfast! I use to buy the pre-made ones, where you pour some sugar on top and burn the sugar with a torch. Then, recently, I started ordering them for dessert at restaurants, and realized it’s just not the same!! It’s suppose to be creamier and lighter and more “mousse” like than “pudding” like. So, I found a simple recipe which is slightly modified from Anna Olson’s show “Bake With Anna Olson” on Food Network.

Ingredients: (Serves 2)
1 cup cream
1 tbsp of vanilla paste
2 egg yolks
1/4 cup sugar

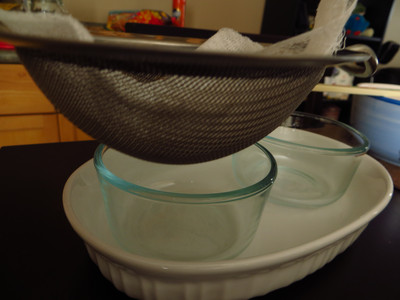
First, preheat the oven to 325F, and place some ramekins in a heat safe pan with sides – so we can give the creme brulees a water bath when we’re ready to bake. Also, set a strainer with cheese cloth on stand-by as we will use them!

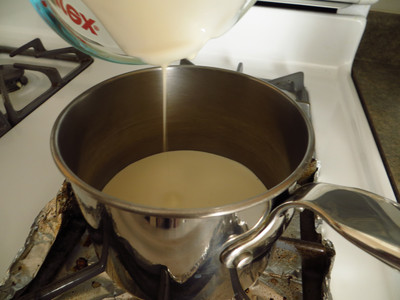
Then, place the cream in a pot and heat it up really slowly. Add the vanilla paste in to infuse the cream. You can use the actual vanilla seeds if you have the vanilla pods. Stir gently and wait until it’s hot – but not boiling over.

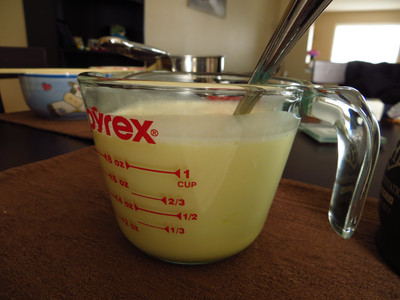
Next, in another bowl, cream the 2 egg yolks together with sugar. Then, slowly combine the cream mixture into the egg yolk mixture. Be sure to go slow so you don’t cook the eggs!

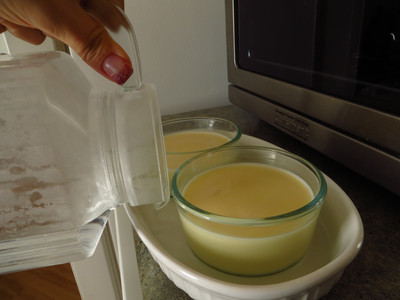
Now, pour the mixture through the strainer with the cheese cloth so it’s strained into the ramekins! Use a spoon to take out all the air bubbles that you see on top! Then, place this in the oven and pour some boiling water into the deep dish that holds the ramekins – making sure you fill up to at least half way up the ramekin dish itself to gently cook the creme brulee.

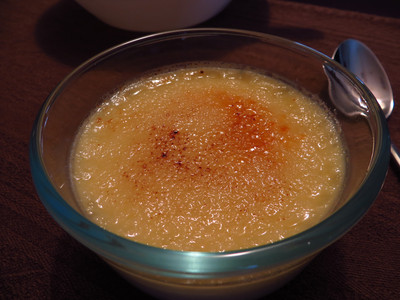
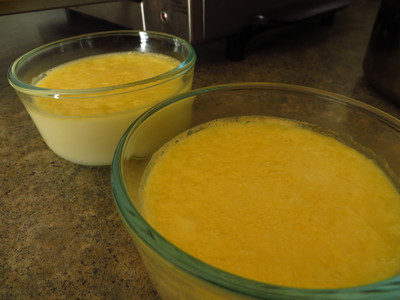
Now, bake for about 20-25 minutes in the oven. I set my oven too high, and caused the egg to cook on the top – but it still tasted great! ๐Ÿ™‚

Let the creme brulee chill completely, and then place into the fridge for at least 3 hours. When you’re ready to enjoy, sprinkle a layer of sugar on top and use a torch to burn the sugar!! It’s done and you’re ready to eat!

Sit down anywhere, anytime to enjoy this delicious and somewhat refreshing dessert as it’s creamy and decadent with a hint of sweetness!