Homemade Simple Vanilla Macarons Recipe

I’ve recently been introduced to macarons, and I loved them! The nice crispy shell texture with a soft centre make an amazing treat! Not only do the ones at the store taste good – they look amazing! So, I figured I’d try my hand at making a simple batch of Vanilla Macarons as it appears I have all the ingredients in my pantry! Of course my batch didn’t look great – but tasted wonderful!

Ingredients: Makes about 12
1/3 cup finely ground almond
3/4 cup powdered sugar
2 egg whites
2 tbsp sugar
1 tsp vanilla extract

Filling
2 egg yolks
2 tbsp sugar
2 tbsp milk
1 tsp vanilla extract

Let’s get started on my first batch of shells! First, we gather all our ingredients so we have everything ready and preheat the oven to 300F.

Then we grind the almonds until they’re fine and then we grind it with the powdered sugar! I figured we do this so that the ground almond is coated with the powder sugar so it doesn’t lump!

Lots of recipes call for sifting the mixture a few times. I tried and I guess my strainer is too fine… it separates the powdered sugar from the ground almonds. The end results wasn’t rough or anything but it’s got some texture as I had to omit the step. So, we go to beating the egg whites until the mixture starts becoming airy and bubbly. At which you will add the 2tbsp of sugar and continue to beat until soft peaks form. Once you got the soft peaks, beat the vanilla extract in.

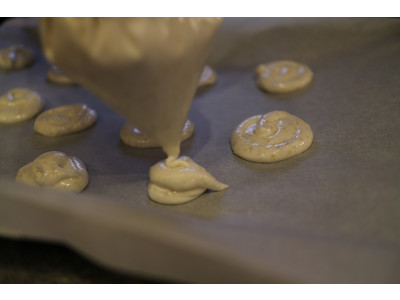
From here, mix half of your egg white mixture into your almond mixture and mix until they’re incorporated. Then, fold in the rest of the egg white and put into a piping back or a ziploc bag. Then, you can cut out a corner and pipe onto a lined cookie sheet of circles. Then you let them dry for about 30 minutes (or until a hard layer is made)

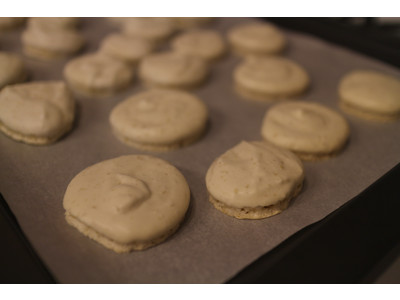
Once the hard layer is formed by drying it, you can pop them in the oven for 15-20 minutes or until they move off the parchment paper easily. At this point, you can take them out and let them cool while you make the filling.

For the filling…
You can start by taking out the ingredients that you need.

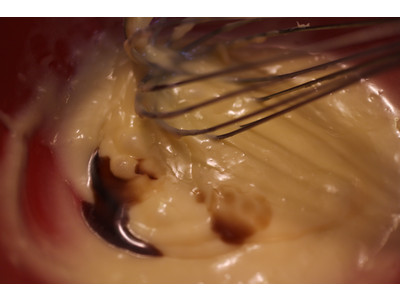
Start with the egg yolks, and beat together the ingredients until it’s even and smooth.

Then, move it to the stove top and cook it until a custard texture

From here, I removed it from the heat and returned it to a bowl and let it cool to room temperature.

When it has cooled, I arrange the macaron shells so that they kind of match each other in relative shape and size. I put a dollop of the butter cream on one side and put the other side on carefully. Once they’re assembled, I put them in the fridge to set. When you’re ready to eat, take them out a few minutes ahead to take the chill off of them. They apparently last up to a week in an air-tight container in the fridge. Ours are often gone way before then!
Homemade Simple Vanilla Creme Brulee

Home Made Crema Catalana

I’ve always loved Creme Brulee for any part of the day – dessert, snack with coffee/tea, and sometimes, even breakfast! I use to buy the pre-made ones, where you pour some sugar on top and burn the sugar with a torch. Then, recently, I started ordering them for dessert at restaurants, and realized it’s just not the same!! It’s suppose to be creamier and lighter and more “mousse” like than “pudding” like. So, I found a simple recipe which is slightly modified from Anna Olson’s show “Bake With Anna Olson” on Food Network.

Ingredients: (Serves 2)
1 cup cream
1 tbsp of vanilla paste
2 egg yolks
1/4 cup sugar

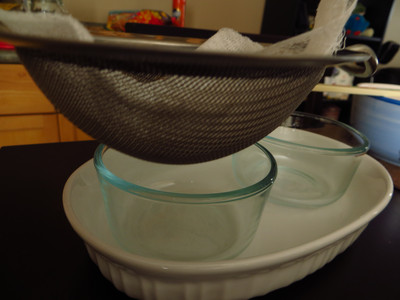
First, preheat the oven to 325F, and place some ramekins in a heat safe pan with sides – so we can give the creme brulees a water bath when we’re ready to bake. Also, set a strainer with cheese cloth on stand-by as we will use them!

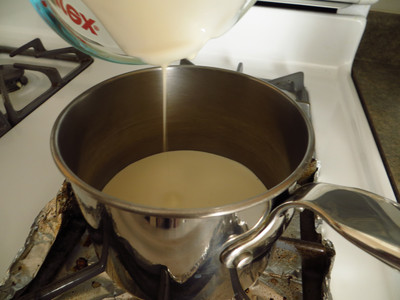
Then, place the cream in a pot and heat it up really slowly. Add the vanilla paste in to infuse the cream. You can use the actual vanilla seeds if you have the vanilla pods. Stir gently and wait until it’s hot – but not boiling over.

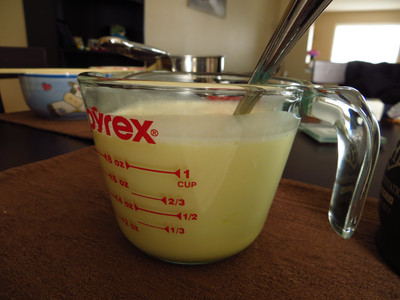
Next, in another bowl, cream the 2 egg yolks together with sugar. Then, slowly combine the cream mixture into the egg yolk mixture. Be sure to go slow so you don’t cook the eggs!

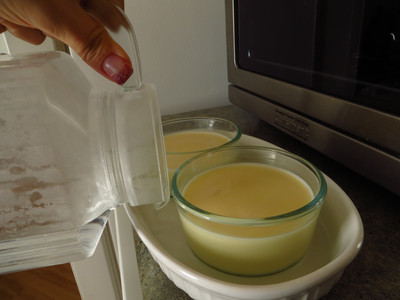
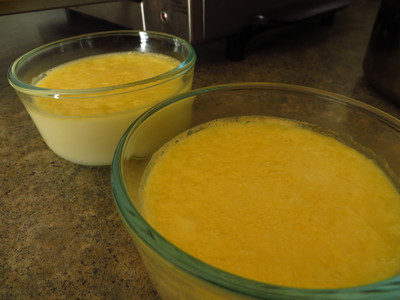
Now, pour the mixture through the strainer with the cheese cloth so it’s strained into the ramekins! Use a spoon to take out all the air bubbles that you see on top! Then, place this in the oven and pour some boiling water into the deep dish that holds the ramekins – making sure you fill up to at least half way up the ramekin dish itself to gently cook the creme brulee.

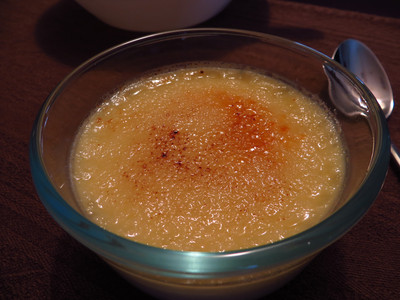
Now, bake for about 20-25 minutes in the oven. I set my oven too high, and caused the egg to cook on the top – but it still tasted great! 🙂

Let the creme brulee chill completely, and then place into the fridge for at least 3 hours. When you’re ready to enjoy, sprinkle a layer of sugar on top and use a torch to burn the sugar!! It’s done and you’re ready to eat!

Sit down anywhere, anytime to enjoy this delicious and somewhat refreshing dessert as it’s creamy and decadent with a hint of sweetness!

Second Cup – Honey Vanilla Tea Latte

I recently stopped into my favourite Second Cup and they had a new seasonal drink called Honey Vanilla Tea Latte. I really love this drink as I do like the taste of vanilla in my coffees or teas! This Honey Vanilla Tea Latte was made with English Breakfast tea steeped with vanilla and honey and finished with creamy microfoam.

The picture doesn’t do it’s justice, but it was quite a delicate drink! It was similar to their London Fog Tea, but better!! I think it is the honey that really elevates this drink to a whole new level! I sometimes find the regular London Fog just lacks a bit of flavour – which is probably why I really like the Christmas Holiday London Fog Latte too!