Homemade Seitan (Gluten) Puffs – 齋麵筋

Home Made Seitan Puffs or Braised Gluten

I’ve always loved Seitan and I’ve never learned that term until recently. I was thinking about one of my aunts who makes delicious “sweet and sour gluten” and really wanted to make it myself – so I attempted to figure out how to make the basic seitan first, and then we’ll go from there.

Seitan is a meat alternative, and I guess it’s got proteins in it. Basically, you take flour and knead it until it gets tough – or form the gluten. The more you knead for this recipe, the better. Then, you was away the flour such that you’re left with the gluten (or what they call seitan).

Ingredients:
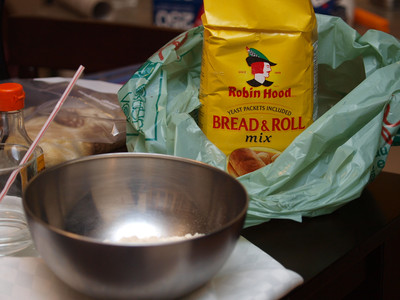
1 cup bread flour (or gluten flour)
1/2 cup water
1/4 tsp salt

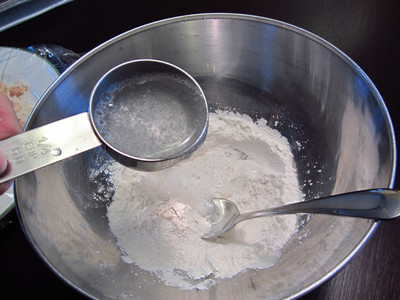
Basic ratio turns out to being 2 parts flour and 1 part water with a pinch of salt. It seems to work really well for this! Combine the 2 ingredients until they form a dough, and knead, and knead. This will be helpful if you have a machine that can do it for you! I used bread flour as I couldn’t find gluten flour anywhere (I wanted a Chinese brand, but basically the more gluten your flour has, the better!). If you use All Purpose Flour, this will work too, but you’ll be washing out more than half of the dough’s size as not as much gluten is formed.

After extensive kneading, the dough should be a tad tough with a lot of give. If you poke your finger at it, it should bounce back – almost looking as though you didn’t poke it at all. At this point, I let it sit as I set up the sink tap to a comfortable warm temperature.

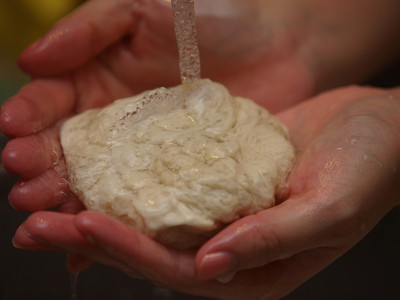
Once the water is at a nice temperature, I just keep washing the dough, and the flour will eventually wash out. You’ll be left with something that looks stringy, but it’s holding on together. It’s quite a delicate process, so treat this with care – you don’t want to be breaking it up into part, or you’ll never get it back together!

When you think the water from the dough has started to run clear, or close to it – you’re probably done washing the flour out. For me, as I’ve used the bread flour, I did loose about half the dough, but it’s no big deal. I just went and made another batch! Notice the texture on the left, as it’s really “brain like”…

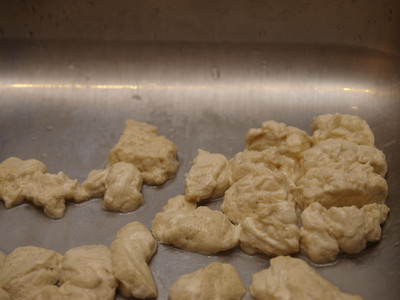
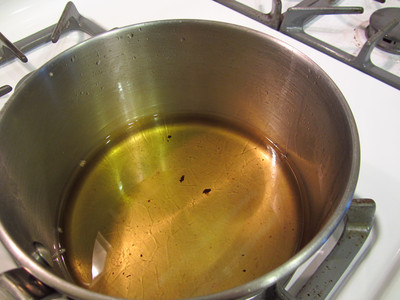
From here, I chop up the gluten into little pieces as I’m experimenting, I like mini portions. I set up some oil to fry with, and it’s important it’s at a low heat with hot oil. Since it’s made with a lot of water, it can either blow up or cause a lot of splashing if the oil is too hot. I just leave the seitan sitting there as the oil comes up to temperature.

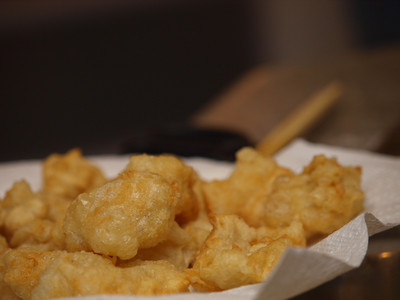
Now, when the oil seems hot (poke a wooden chopstick in the oil, and it starts bubbling around the chopstick), I’m ready to start frying! Ideally, they will puff up and you just keep moving the pieces of gluten so they don’t stick to each other! I pull them out when they’re golden brown.

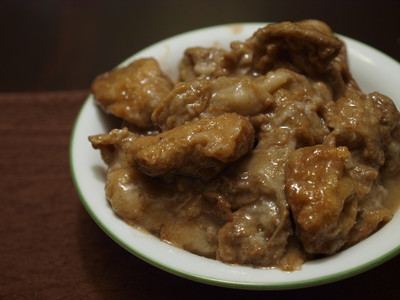
Alright, now we got our seitan puffs, I just make a nice braising liquid. This time, I used a curry and I braise it for a few hours until the flavours get in. Once it’s flavourful, you’re ready to enjoy seitan! You can change up the braising flavours, and like I mentioned, my favourite is the sweet and sour sauce, or ketchup one… so I will have to experiement with that!

I actually braised mine in a slow cooker and I must admit, I did over braise it such that it was a little too mushy!! So, keep an eye on it if you’re doing it for the first time (unlike me!)

Homemade Chinese Deep Fried Crispy Milk – 炸鮮奶

Home Made Crispy Milk Recipe

Deep fried foods are always good – it doesn’t matter what you fry, and chances are… it will taste great! I had a craving for Deep Fried Crispy Milk as I was in a deep frying phase at home, so I decided to make some. This is a large batch and can feel lots. For 2-4 people, I would actually recommend cutting the recipe down in half.

Ingredients:
Filling –
4 tbsp Cornstarch
1 small can (168mL) Coconut Milk
1 small can (168mL) Milk
1 tbsp condensed milk
1/4 tsp salt

Batter –
1 cup Flour
4 tbsp Cornstarch
1 tsp baking Powder
1 cup Seltzer water

First of all, the filling does take some time to set, so be sure you make this a few hours prior to frying! To make the filling, mix together the coconut milk, milk condensed milk with a pinch of salt. Then, stir the cornstarch into the cold milk mixture until smooth.

Put the mixture into a pot and heat slowly. The mixture will begin to thicken up – of course from the bottom and sides first, so mix well. Heat until the entire mixture is thick and smooth and could be molded.

Press the mixture into a container, and let it set in the fridge for at least 4 hours.

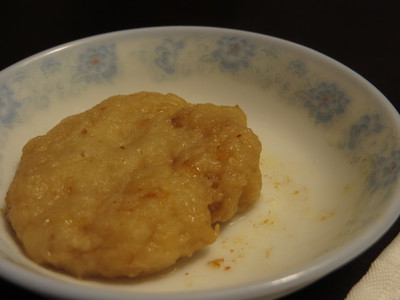
Once the filling is firm, it is ready to get cut up into small chunks, and I like to cut it up into bit size squares. Then, I make the batter, which is mixing all the dry ingredients together, and then pouring some seltzer water, just enough to get a thick batter. Dunk and coat the filling pieces into this batter, and then fry until golden brown!

Put the golden brown, super crispy fried milk on a plate with some paper towel to absorb some grease. I like to serve it with a little plate of condensed milk. This is definitely best enjoyed hot!

Homemade Deep Fried Bananas

Home Made Fried Bananas

I’ve been starting to eat bananas for awhile now, and I’m in a deep frying phase at my house right now… which is kind of bad. But, I thought a Deep Fried Banana would be an excellent idea! I must note, this batter is enough to coat a few more bananas too… so, you can either make more, or reduce the batter!

Ingredients:
1 ripe banana
1/4 cup seltzer water
1/4 cup flour
1 tbsp cornstarch
1/4 tsp baking soda

First of all, use at least a yellow banana for this recipe! Be careful if it’s too ripe though, as it becomes “mushy” fast. I’ve been trying a deep fry banana everyday – as the banana’s ripen, and with a different batter each time, to think of a better batter. I really like using a version of tempura batter for this recipe!

I start heating up the oil for frying as it’s a quick and simple batter.

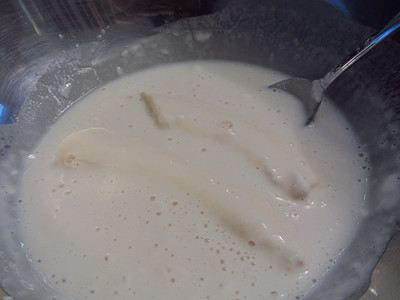
To begin this dessert or snack – if you’re crazy like me… make the batter! Mix the dry ingredients together first, so add the flour, cornstarch and baking soda into a bowl. Once the dry ingredients are mixed, you’re ready to add the seltzer water. Typically, I have been finding myself adding less than the amount called for, and then add some more until I get to a thick consistency that I like.

Then, I split a banana in half, just so it fits in my fryer. I coat the banana in the batter!

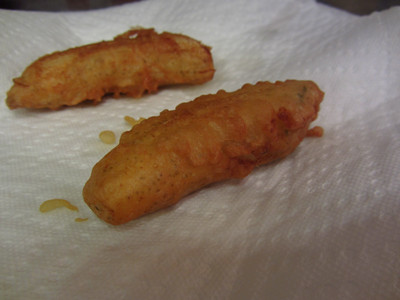
Now, once the bananas are coated completely, you’re ready to drop it into the hot oil! Be careful, it can splash – and the oil is extremely hot!

Once the banana coating is crispy and golden brown, you should take it out and put it on a paper tower to absorb some oil.

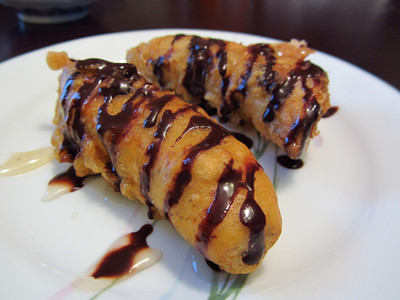
Now, you can either eat it as is, or drizzle some delicious topping. I’ve tried it with honey and chocolate syrup and it was a really light and delicious combination with the bananas.

Another great topping that I really liked is with condensed milk. While eating this, I was thinking about peanut butter drizzle too… but, I just wanted to enjoy my crispy banana. Basically, the toppings can be endless!

This is best eaten hot and crispy! So, don’t spend too long finding toppings!

Homemade Rice Crispy with Peanut – 米通

A simple treat that is Chinese and very popular during the Chinese New Years would be Rice Krispies and often has peanuts.

Ingredients:
1/4 cup Roasted Peanuts
1 cup dried rice (I use less dried rice)
1/4 tsp minced ginger (optional)
1/2 lime (juiced)
1 tbsp butter
oil for frying
1/2 cup water
1/4 cup sugar

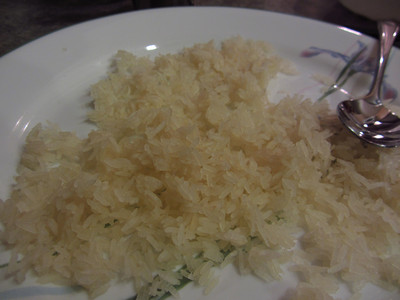
If you’re wanting to make this recipe, be sure to start drying your cooked rice. I just leave my rice out of a plate, and turn it every once in awhile. It does take a few days to dry completely.

The first thing you want to do is roast the peanuts and then you can set it aside.

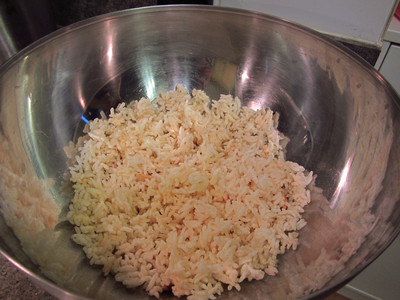
Next, get the oil up to temperature on a low boil. I normally turn my oil to medium until you hear the oil bubbling as it’s scorching hot. When it’s at that phase, I turn it down a notch. I then pour the rice in the oil in batches and scoop it out when it’s puffed. The rice is extremely hot and crispy at this stage and the rice will actually stay crispy from here on in.

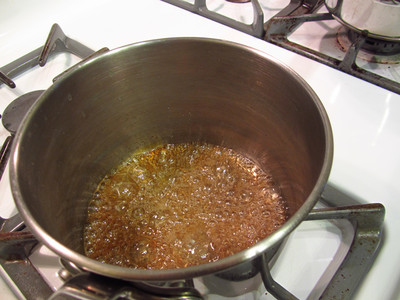
Now that the peanuts are roasted, and the rice is “puffed”, mix it together in a large bowl – then it’s time to make the caramel! Simply in a pot, pour the sugar into the pot and then the water. Turn the heat on to medium and leave it there. It will begin to bubble, then the water will evaporate. The sugar syrup will begin to brown – and watch for this. From the browning stage it burns fast and there is no turning back after it’s burnt. I like to add the ginger, butter and lime juice right at the end to stop the caramel from cooking further.

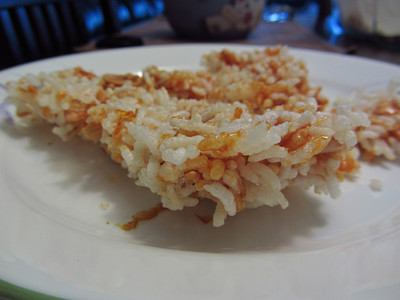
When the caramel is ready, it’s important to work fast now as the caramel will cool, set and harden. Mix everything together and press into a dish. Let the mixture cool completely – then cut, serve and enjoy!

<

If you really just want the treat without the labour, it is available in the bakery section of your Asian grocery store! 🙂 Of course, Chinese Rice Crispies aren’t the same when it isn’t homemade!