Homemade Nutella Cookies

Easy Nutella Cookies

So, I guess there’s something called International Chocolate Day, and once I heard that, I went through my pantry to see what I had… so, I found enough ingredients to make a small batch of Nutella Cookies that are quick and simple! I must say, the house smells absolutely amazing right now!

Ingredients: (Makes about 18 cookies)
1 cup Nutella
2/3 cup All Purpose Flour
1/3 cup Wheat Flour
1 egg
1/4 cup sugar
splash of milk

First, preheat the oven to about 350F, you have to do this right away, since preparing the batter is quick and easy! Then, just mix all the dry ingredients together in a large bowl and mix lightly.

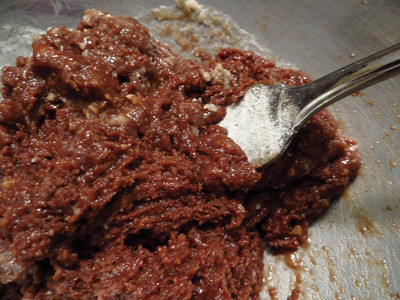
Once all the dry ingredients are incorporated, add the egg and nutella into the mixture. This will make a super sticky batter – but try to mix well. If you need the batter to be less thick, add about a tablespoon of milk. If it’s still really sticky, add more until the cookie dough combines into a nice consistency.

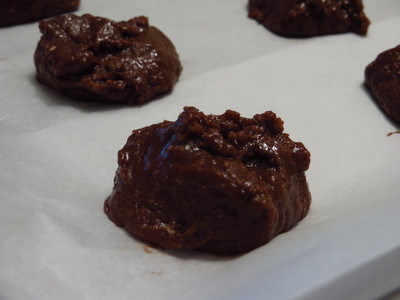
Then, I like to line my cookie tray with parchment paper, and I spoon out little cookie dough balls about the size of a ball that fits into a tablespoon. I roll these balls lightly and just place onto the cookie tray. As the cookie bakes, it will flatten itself, so you don’t need to flatten it – unless of course you want to! After all, they are YOUR cookies!

Now, you just place in the oven for about 10 minutes, and they should be a little lighter in colour and should be even colouring. You can always do the toothpick test if you want. But, remember it will continue to cook a little as you’re they’re resting on the cooling rack. So, this means you need to cool your cookies first on the cooling rack!
Homemade Soy Milk – 豆漿

Home Made Soya Bean Milk

I have just figured out I really like to make homemade Soy Milk, as it only costs about $0.75 to make a litre of this drink! It’s actually not very hard to make either!

Ingredients: Serving Size 2 Cups (500mL)
1/2 Cup Soy Bean
1 1/2 cup Cold Water

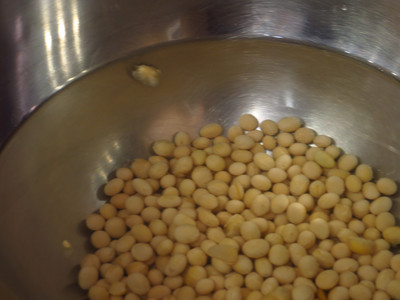
First, you will soak the soy beans for at least 8 hours. I’ve been soaking them over night for the 2 times I’ve made them so far! The beans will actually double/triple in size! As soon as this happens, you can basically peel the shells and you’re ready to make your drink!

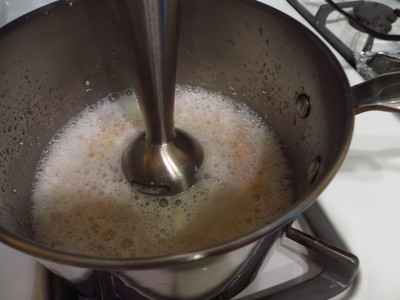
Once you’re ready, wash the soy beans and place them in a pot with 1 1/2 cup of water if you’re using an immersion blender, or you can place it all into a blender. I’ve been using my immersion blender as it’s easiest for me! Blend until as smooth as possible, and then pour it through a strainer with a cheesecloth on top to make the milk a smooth as possible. Squeeze out as much liquid out of the cheesecloth as possible.

Once you’ve strained out the beans from the milk, you can boil the milk that you have. I have been adding extra water to the pulp and trying to extract more from the beans and strain again. From here, bring the milk to a boil and set up a strainer with cheesecloth on top of the strainer to collect any missed pieces of soy beans.

Then, I bring the milk back to a boil, and make sure you watch it as it will boil over fast. I strain it through the cheesecloth one last time, but I think this last step is completely optional. Then, just let it cool and refrigerate. I believe this can only last about 3 days in the fridge as there are no preservatives! But, you can enjoy as is, you can add some sugar to sweeten it!

For me, I turned a double batch of the unsweetened soy milk (1 litre) into Dou Fu Fa! Here’s a great recipe!

Homemade Panna Cotta

Home Made Panna-Cotta

I was wanting a quick and easy dessert that was refreshing and cold. So, I made myself some Panna Cotta which of course is one of the simplest desserts out there! Panna Cotta is a basic ratio to make, and of course, I made the most basic one. You can add flavours and other things to it to make it your own!

Ingredients (Serves 2):
1/2 Cup Sugar
2 Cups Milk
1/2 tsp Vanilla
1 1/2 tsp gelatin (Half Package)

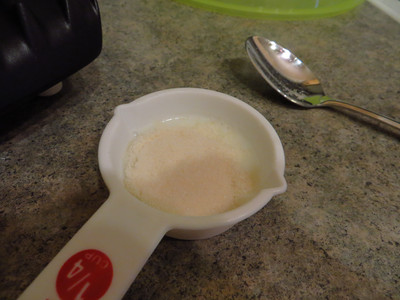
This simple recipe starts off with dissolving your gelatin in some milk. I just put a slash of milk and let the gelatin dissolve and swell up while preparing the rest of the ingredients.

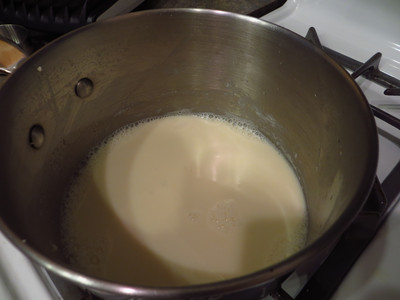
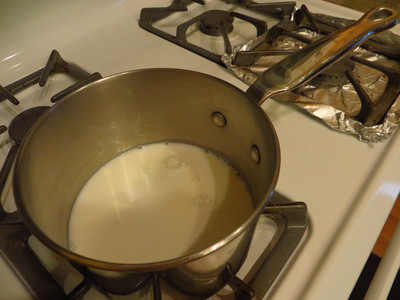
In a small pot, I dissolve the sugar in the milk and bring the milk up to a slight boil.

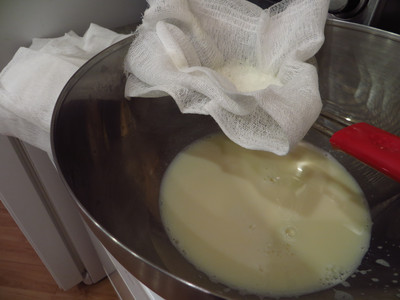
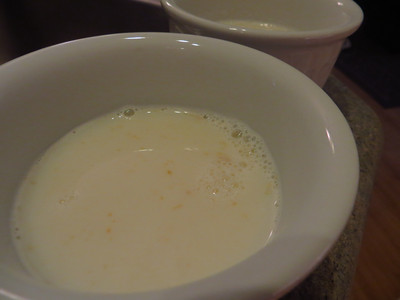
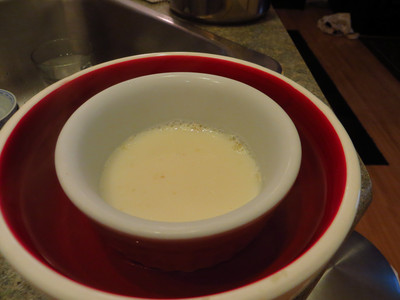
Then, I mix the dissolved gelatin solution into the pot and stir until it’s well incorporated. Here, I add my splash of vanilla. Usually, I strain the solution before pouring into the molds, but I forgot to strain it today. I pour the solution into my ramekins, and place in the fridge for about 3 hours or until it sets.

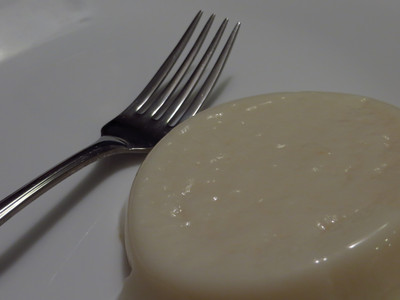
After the Panna Cotta has set, submerge the ramekins into boiling water (or hot water) and it will loosen up the panna cotta so you can pour it out on to a plate.

After you’ve turned the Panna Cotta out, you can add some fruits if you want to decorate and make it more flavourful. As this is my basic recipe, I left it as is.

This delicious dessert is very velvety, soft and smooth – yet it is refreshing! If you’re using the basic recipe as I did here, it’s probably important that you use good quality vanilla! Citrus or berries are a good addition to add to this recipe, and some even say Rosemary! Can you imagine infusing the panna cotta solution with Rosemary? It should be soo good!

Homemade Satay Sauce on Gai Lan

Home Made Chinese Broccoli with Satay Sauce

Okay, I made a delicious dish with Gai Lan which is also known as Chinese Broccoli in some places. It’s an easy to make dish, as you only need to blanch the gai lan until tender crisp. Then, just make the satay sauce in a little bowl to pour ontop when you’re ready to serve and eat!

Ingredients:
handful of Gai Lan
1 tbsp crunchy peanut butter
1 minced garlic
1 tablespoon of lime juice
1 teaspoon of chilli powder, to taste
1 tablespoon soy sauce
150ml water, as needed

First thing, bring a pot of water to a boil, and I like to season the water when it’s boiling with both salt and some sugar – as Gai Lan can sometimes have a bitterness to it. Blanch the Gai Lan until it’s a tender crisp.

In a separate bowl, combine the rest of the ingredients to make the satay sauce. You can modify the sauce to your liking, as it’s really just a guideline. This sauce will be really thick from the peanut butter, so you can dilute it to the consistency you like it with the water. It will be salty from the soy sauce, so it’s important to taste as you go. I find it easiest to start with a little and add more as needed.

To put together, take out the gai lan out of the boiling water and place on a plate. Then, just pour some sauce on top and serve. I like to have the sauce on the side, as it’s delicious with rice/noodles as well!

Homemade Chinese Man Tou – 饅頭

Home Made Chinese Steamed Buns – Wan Tou

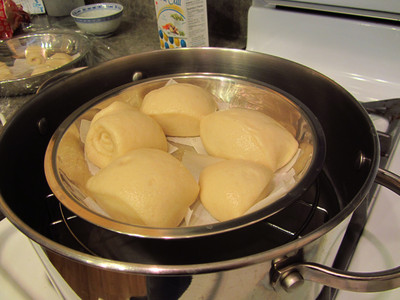
My brother-in-law came to visit, and as a welcome gift, I decided to make one of his favourites, which is Man Tou! The other thing he really likes is white rice, and that’s definitely harder to bring to the airport to greet with (in my opinion – without doing something fancy to it). So, I just made a small batch, and it’s quite simple!

Ingredients: (makes 8-10 small man tous)
3/4 tsp Yeast
1/2 cup Warm Water
2 cup Flour
1 tbsp Sugar
1 tsp Oil

First, you mix the yeast with the warm water, and give it time to activate. You can also use instant yeast, especially if you’re pressed on time. I was pressed on time, but didn’t have instant yeast – so my end results was a little more dense.

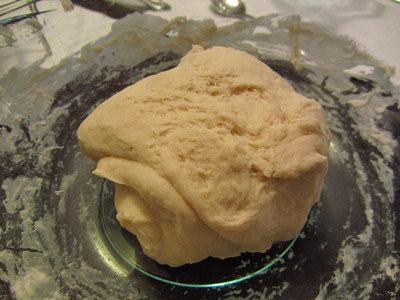
After the yeast had doubled, mix the sugar with the flour, then pour the yeast mixture and oil into the flour mixture as well. If you have an electric mixture, use the hook attachment and knead for about 10 minutes. If you’re like me, then just knead until the dough is soft, smooth and quite “silky”.

Now, you can roll out your dough into a rectangle, and roll up one end. Then, with a pastry cutter, cut the log into pieces and place on little squares of parchment paper.

Now, you can set up your steamer while the dough rises for about 20 minutes.

When you’re ready to steam, steam it for about 13 to 15 minutes if you’re making the large man tous, and 10-12 minutes for the little ones! Serve while hot!