Homemade Cha Trung – Vietnamese Steamed Pork Meatloaf with Egg

I was at a Vietnamese restaurant the other day, and all I really wanted was something I haven’t had in years, and it was Cha Trung, which is essentially pork meatloaf that is steamed cooked, with an egg on top. I figured it wouldn’t be hard to make, so I attempted my version of it – a simple one, but a good foundation to add all sorts of yummy ingredients to it!

Ingredients:
1 lb ground pork
1/4 to 1/2 cup chopped vermicelli noodles
2 large eggs, 1 eggs in the meatloaf, and 1 for the top
1/2 tsp salt
1 tsp Nuoc Mam (Vietnamese Fish Sauce)
1/2 tsp white pepper

Things that you can add are:
1/3 cup dry Nam Meo (Tree Ear Fungus), soaked
shredded carrots

The first thing, set up a steamer and bring the water to a boil. Then, chop up the the vermicelli noodles after it has softened. You can either soak it until soft, or cook it in salted boiling water until soft. Then, mix it with chopped onions.

Afterwards, add the meat in to the mixture and season… and then mix well so it is evenly seasoned. When it is mixed well, mix a egg that has been beaten into the meatloaf, and continue to mix.

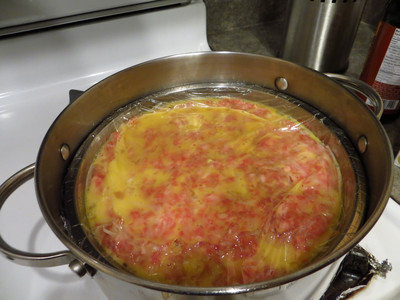
When the meatloaf has combined thoroughly, spray some vegetable oil, or grease a steam proof container and pat your meatloaf into the plate. From here, beat the other egg and just pour it on top. If you like more eggs on top, then put a second one, to make a thicker egg cover. Then, cover the meatloaf with plastic wrap.

Steam the meatloaf for about 25-35 minutes depending on how thick the patty is. When it’s ready, be careful taking it out as it’s extremely hot. I cut it into wedges and I serve it with either rice or rice vermicelli and I pour Ngoc Cham! Of course, you can add more to the plate, but this is a simple meal that doesn’t take much time to prepare and when it cooks, it’s pretty much “set it and go” – just like cooking the rice in a rice cooker!

I’ve made this a few times now as it’s so easy to make and it feeds a lot for a small cost! The thing I love about this, I can add all sorts of things into the meatloaf, and it tastes amazing!

Homemade Simple Vanilla Creme Brulee

Home Made Crema Catalana

I’ve always loved Creme Brulee for any part of the day – dessert, snack with coffee/tea, and sometimes, even breakfast! I use to buy the pre-made ones, where you pour some sugar on top and burn the sugar with a torch. Then, recently, I started ordering them for dessert at restaurants, and realized it’s just not the same!! It’s suppose to be creamier and lighter and more “mousse” like than “pudding” like. So, I found a simple recipe which is slightly modified from Anna Olson’s show “Bake With Anna Olson” on Food Network.

Ingredients: (Serves 2)
1 cup cream
1 tbsp of vanilla paste
2 egg yolks
1/4 cup sugar

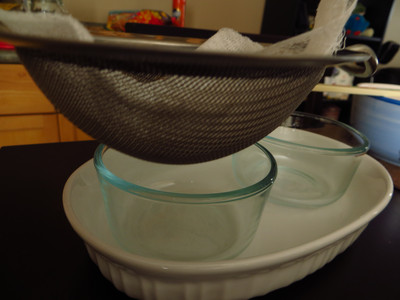
First, preheat the oven to 325F, and place some ramekins in a heat safe pan with sides – so we can give the creme brulees a water bath when we’re ready to bake. Also, set a strainer with cheese cloth on stand-by as we will use them!

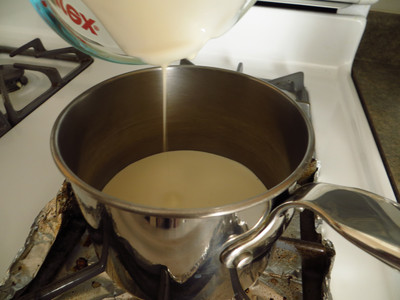
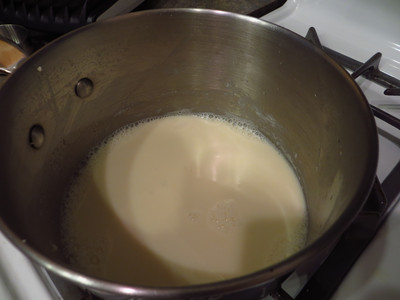
Then, place the cream in a pot and heat it up really slowly. Add the vanilla paste in to infuse the cream. You can use the actual vanilla seeds if you have the vanilla pods. Stir gently and wait until it’s hot – but not boiling over.

Next, in another bowl, cream the 2 egg yolks together with sugar. Then, slowly combine the cream mixture into the egg yolk mixture. Be sure to go slow so you don’t cook the eggs!

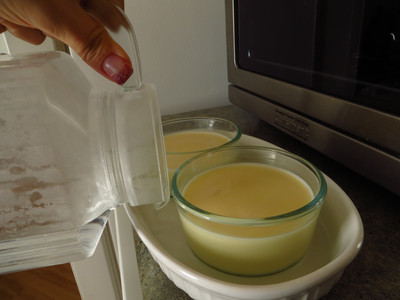
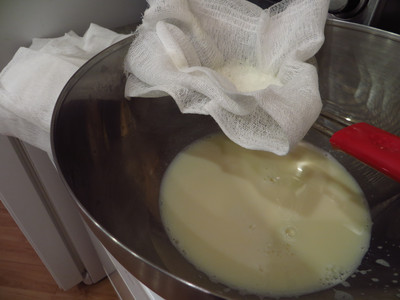
Now, pour the mixture through the strainer with the cheese cloth so it’s strained into the ramekins! Use a spoon to take out all the air bubbles that you see on top! Then, place this in the oven and pour some boiling water into the deep dish that holds the ramekins – making sure you fill up to at least half way up the ramekin dish itself to gently cook the creme brulee.

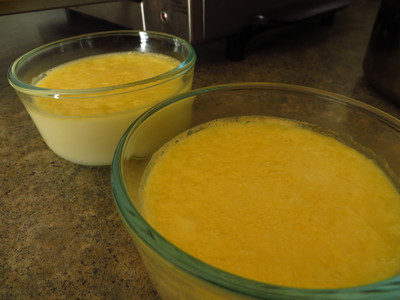
Now, bake for about 20-25 minutes in the oven. I set my oven too high, and caused the egg to cook on the top – but it still tasted great! πŸ™‚

Let the creme brulee chill completely, and then place into the fridge for at least 3 hours. When you’re ready to enjoy, sprinkle a layer of sugar on top and use a torch to burn the sugar!! It’s done and you’re ready to eat!

Sit down anywhere, anytime to enjoy this delicious and somewhat refreshing dessert as it’s creamy and decadent with a hint of sweetness!

Homemade Soy Milk – 豆漿

Home Made Soya Bean Milk

I have just figured out I really like to make homemade Soy Milk, as it only costs about $0.75 to make a litre of this drink! It’s actually not very hard to make either!

Ingredients: Serving Size 2 Cups (500mL)
1/2 Cup Soy Bean
1 1/2 cup Cold Water

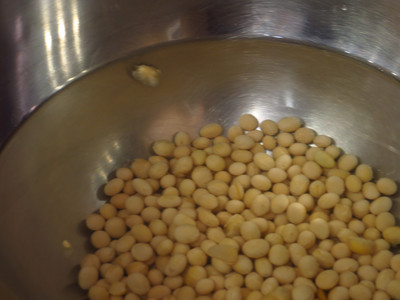
First, you will soak the soy beans for at least 8 hours. I’ve been soaking them over night for the 2 times I’ve made them so far! The beans will actually double/triple in size! As soon as this happens, you can basically peel the shells and you’re ready to make your drink!

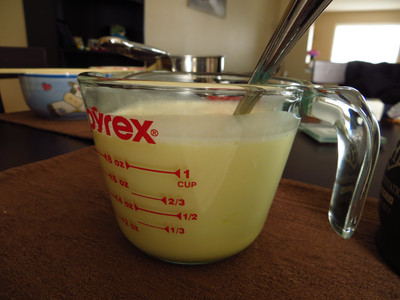
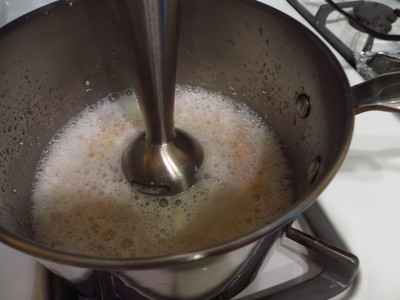
Once you’re ready, wash the soy beans and place them in a pot with 1 1/2 cup of water if you’re using an immersion blender, or you can place it all into a blender. I’ve been using my immersion blender as it’s easiest for me! Blend until as smooth as possible, and then pour it through a strainer with a cheesecloth on top to make the milk a smooth as possible. Squeeze out as much liquid out of the cheesecloth as possible.

Once you’ve strained out the beans from the milk, you can boil the milk that you have. I have been adding extra water to the pulp and trying to extract more from the beans and strain again. From here, bring the milk to a boil and set up a strainer with cheesecloth on top of the strainer to collect any missed pieces of soy beans.

Then, I bring the milk back to a boil, and make sure you watch it as it will boil over fast. I strain it through the cheesecloth one last time, but I think this last step is completely optional. Then, just let it cool and refrigerate. I believe this can only last about 3 days in the fridge as there are no preservatives! But, you can enjoy as is, you can add some sugar to sweeten it!

For me, I turned a double batch of the unsweetened soy milk (1 litre) into Dou Fu Fa! Here’s a great recipe!

Homemade Satay Sauce on Gai Lan

Home Made Chinese Broccoli with Satay Sauce

Okay, I made a delicious dish with Gai Lan which is also known as Chinese Broccoli in some places. It’s an easy to make dish, as you only need to blanch the gai lan until tender crisp. Then, just make the satay sauce in a little bowl to pour ontop when you’re ready to serve and eat!

Ingredients:
handful of Gai Lan
1 tbsp crunchy peanut butter
1 minced garlic
1 tablespoon of lime juice
1 teaspoon of chilli powder, to taste
1 tablespoon soy sauce
150ml water, as needed

First thing, bring a pot of water to a boil, and I like to season the water when it’s boiling with both salt and some sugar – as Gai Lan can sometimes have a bitterness to it. Blanch the Gai Lan until it’s a tender crisp.

In a separate bowl, combine the rest of the ingredients to make the satay sauce. You can modify the sauce to your liking, as it’s really just a guideline. This sauce will be really thick from the peanut butter, so you can dilute it to the consistency you like it with the water. It will be salty from the soy sauce, so it’s important to taste as you go. I find it easiest to start with a little and add more as needed.

To put together, take out the gai lan out of the boiling water and place on a plate. Then, just pour some sauce on top and serve. I like to have the sauce on the side, as it’s delicious with rice/noodles as well!

Homemade Chinese Roast Pork Belly – Siu Yuk 燒肉

Home Made Crispy Skin Pork Belly – Siew Yoke

Okay, this isn’t something we eat a lot of at all, but I really wanted to make it, and it’s Roast Pork Belly. I bought my strip of pork belly with bone in and skin on from the Asian grocery market, and we just got a small slab.

Ingredients:
slab of pork belly
1 or 2 cube of fermented bean curd
Chinese Five Spice (五香粉)
White Pepper
Salt
Rice Vinegar (or white vinegar)

The first thing is first, you gotta clean your meat – so rinse the pork belly off well with cold water, and pat it completely dry with paper towels. You do need to make this a few hours ahead, so plan ahead!

Once the pork is clean, make the marinade for the pork belly by smashing a piece of the fermented bean curd until it’s a paste. Add to the paste the Five Spice, and White Pepper.

Prepare the meat now, by stabbing the skin with your knife – not through the entire skin, but you want lots of punctures on the skin. If you want, cut the actual pork meat so marinade gets through. I didn’t do this as my pork belly has bones.

Then, rub the marinade all over the pork belly EXCEPT the skin. Leave the skin part dry for now with nothing on it. After the marinade is on the pork, rub the salt onto the skin, and do a really good job of it. Try to get it into some puncture holes if you can! Put the entire slab of pork belly onto a wire rack with a line tray underneath and refrigerate for a few hours – or even overnight.

After you’ve marinated for a few hours, take the pork belly out of the fridge while you wait for the oven to preheat. Set the oven to 400F, and then put the pork belly into the oven. Bake for 15-20 minutes and pull it out to brush some rice wine vinegar on the skin. I brush it again after another 20 minutes. Then, continue letting the pork bake until almost thoroughly cooked. To finish the cooking, change the oven setting to broil and give it another 20 minutes for the skin to become fluffy and crunchy.

When the baking has competed, take the pork belly out of the oven and let it rest for 10 a few minutes for the juices to redistribute in the meat, then slice and serve!