Home Made Steamed Egg with Soy Milk
This is a neat one, but delicious steamed dish that goes perfectly with rice! It’s really quick and easy, and I think it’s light and healthy too! so, why not put together a quick dish on the dinner table tonight? Well, this recipe takes a spin off scramble eggs – as you normally put a splash of milk in the scrambled eggs, except you’re putting soy milk in your steamed eggs! Also, you can dress up this dish if you like, or enjoy it as it!
Ingredients:
125mL Soy Milk (unsweetened)
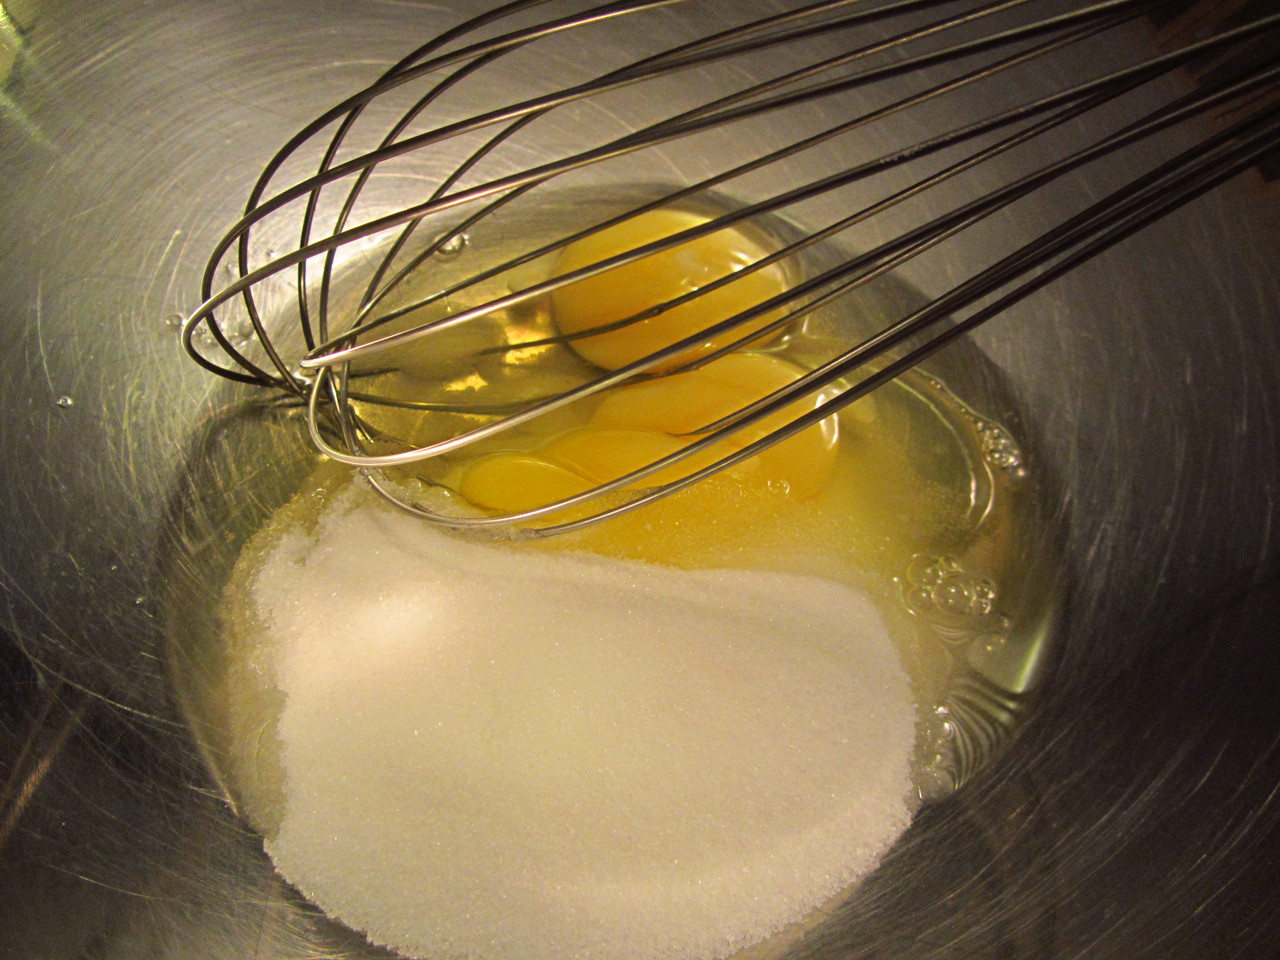
3 Eggs (beaten)
pinch of salt and white pepper
Some people opt out of the white pepper if they’re just looking for the smooth custard look and feel of the steamed egg.
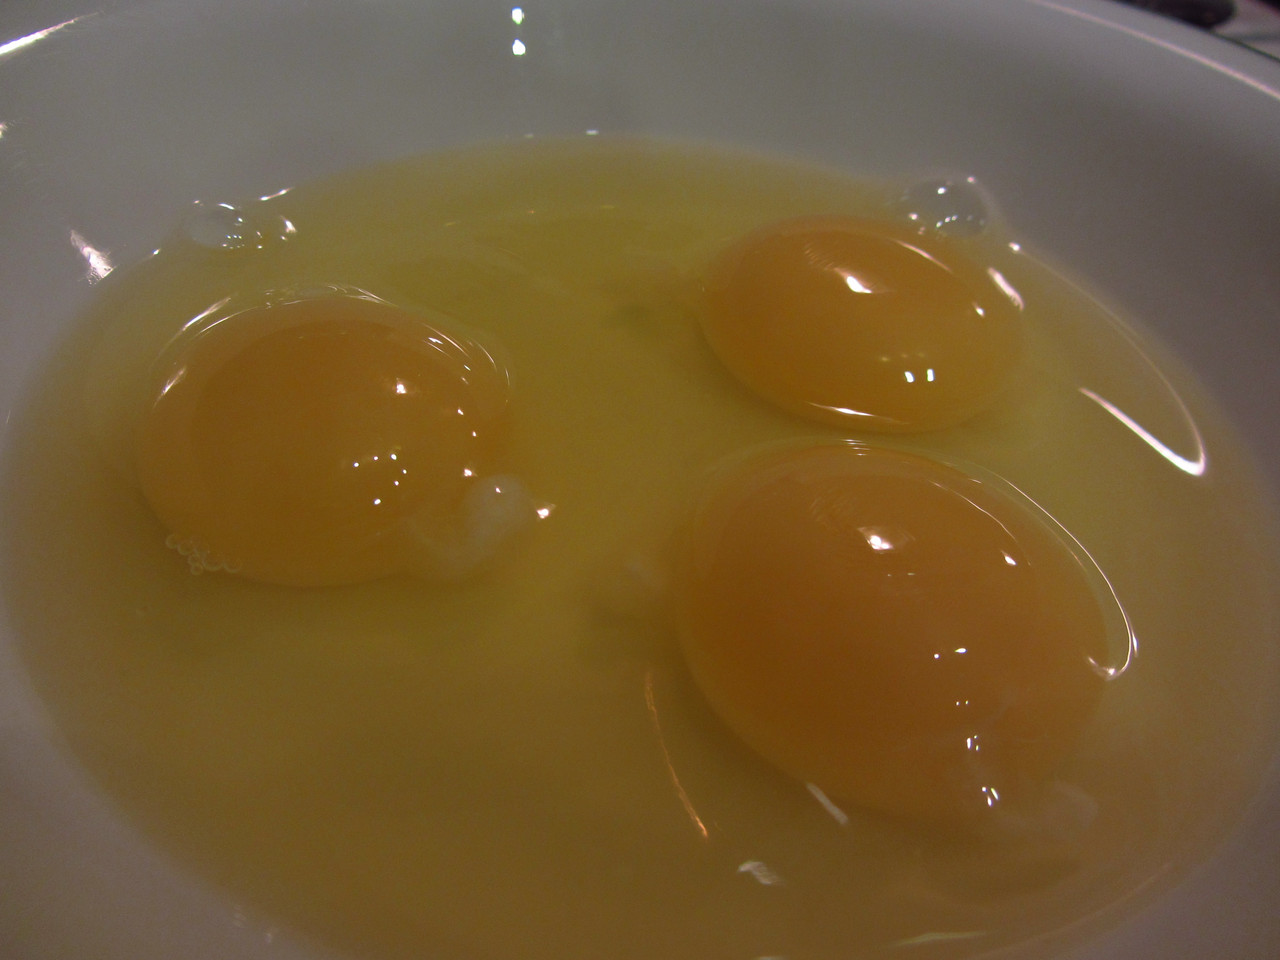
First off, set up your steamer for steaming. This recipe is quick, so you can start preparing this right away! Beat your 3 eggs and season it. Make sure it’s beaten well.

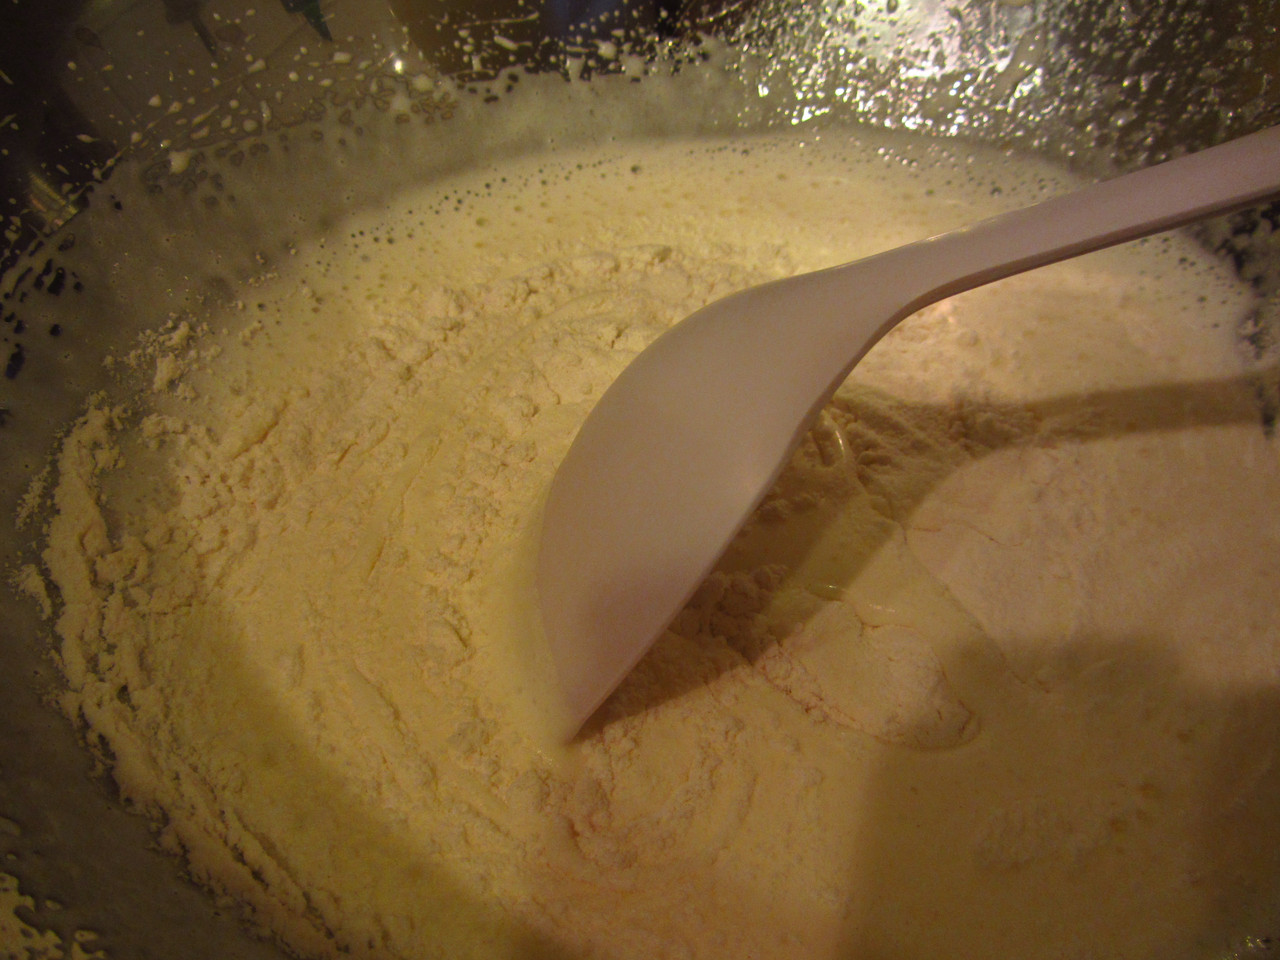
When it’s mixed thoroughly, pour the soy milk into the mixture and beat well again.

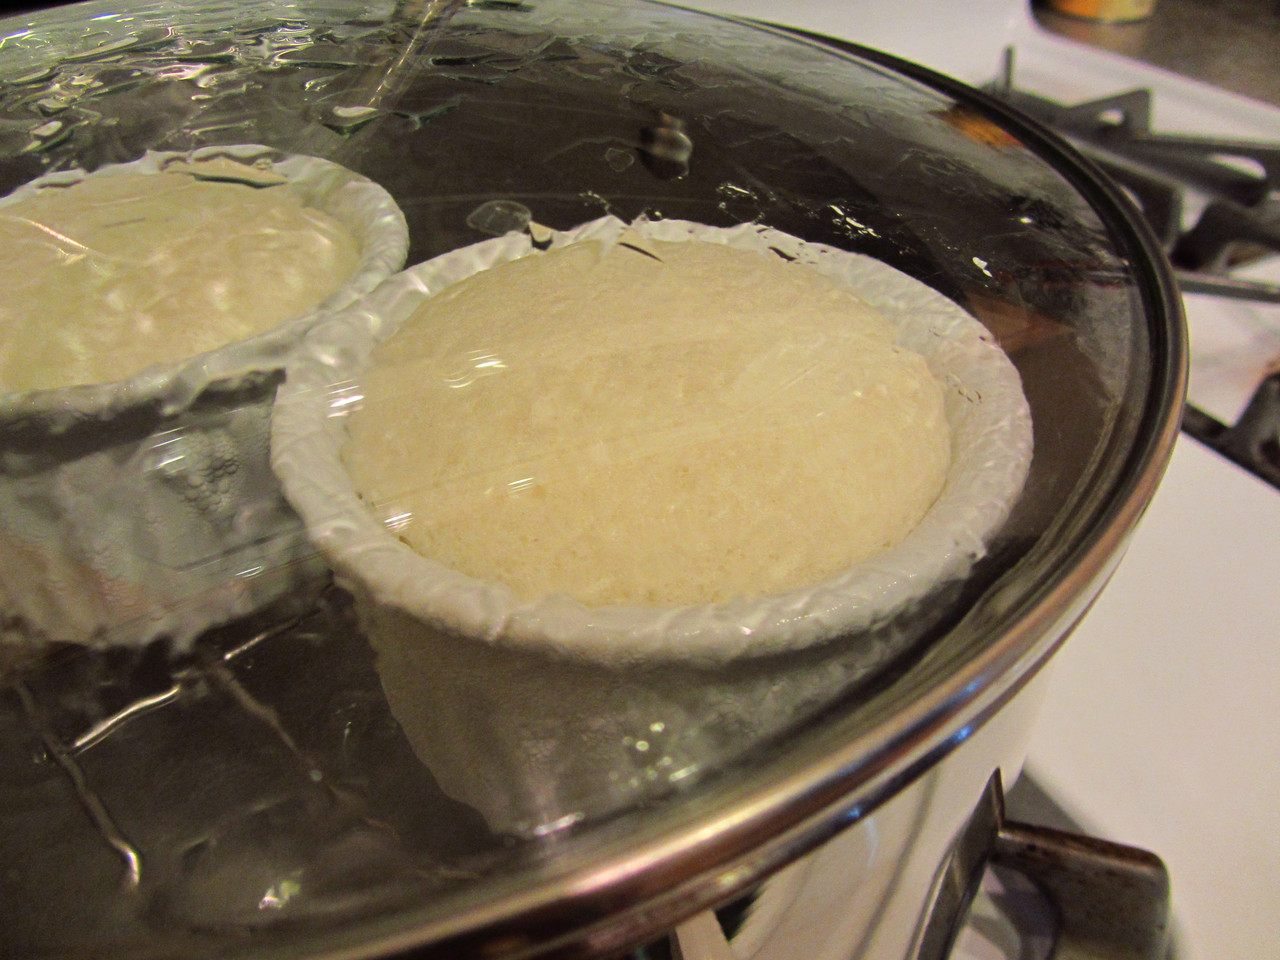
Strain the egg mixture through a strainer into a heat proof steam plate, cover it tightly with aluminum foil and set into the steamer. Steam for about 12 to 15 minutes on low.

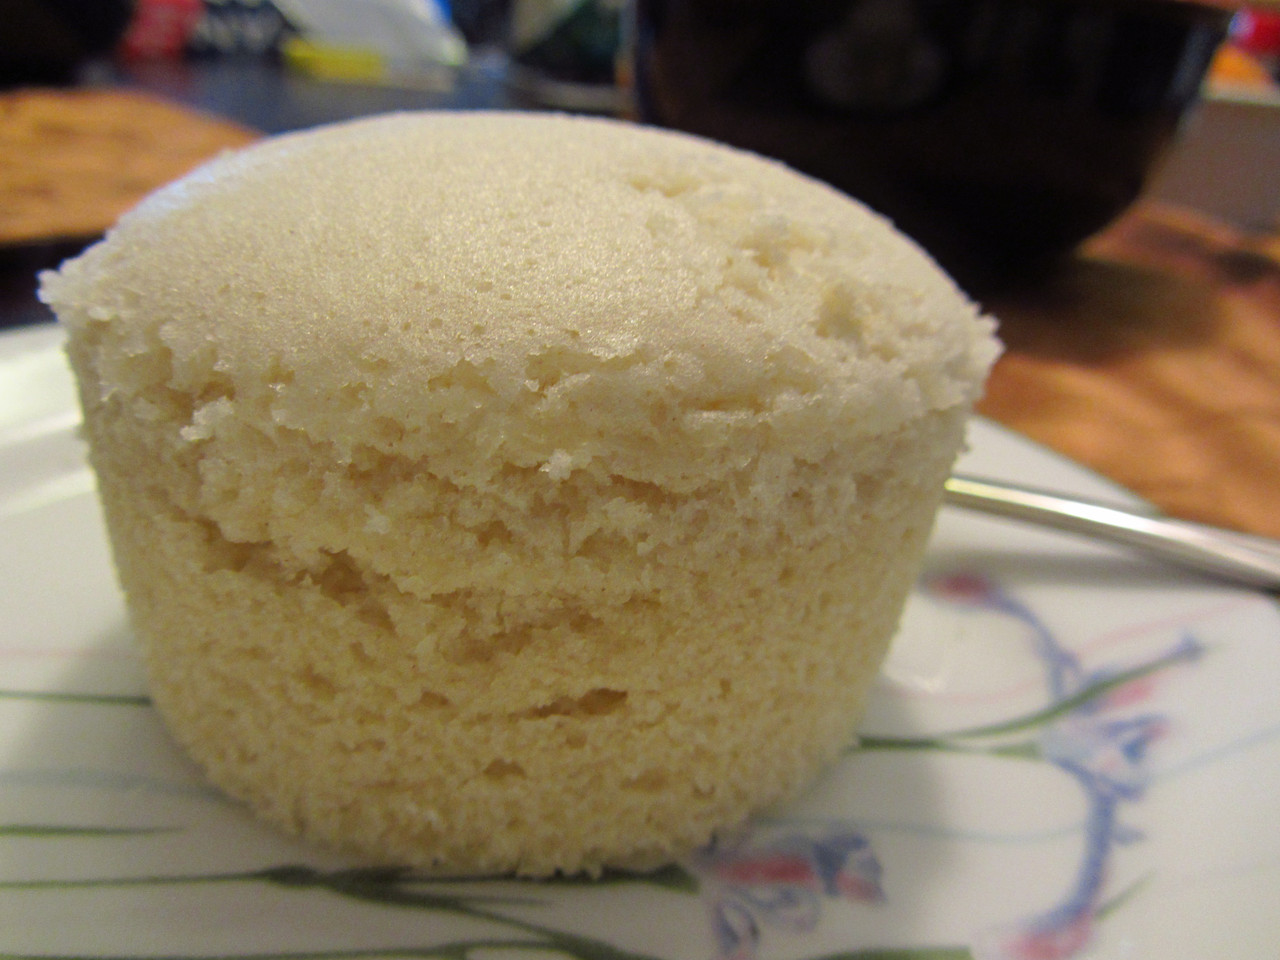
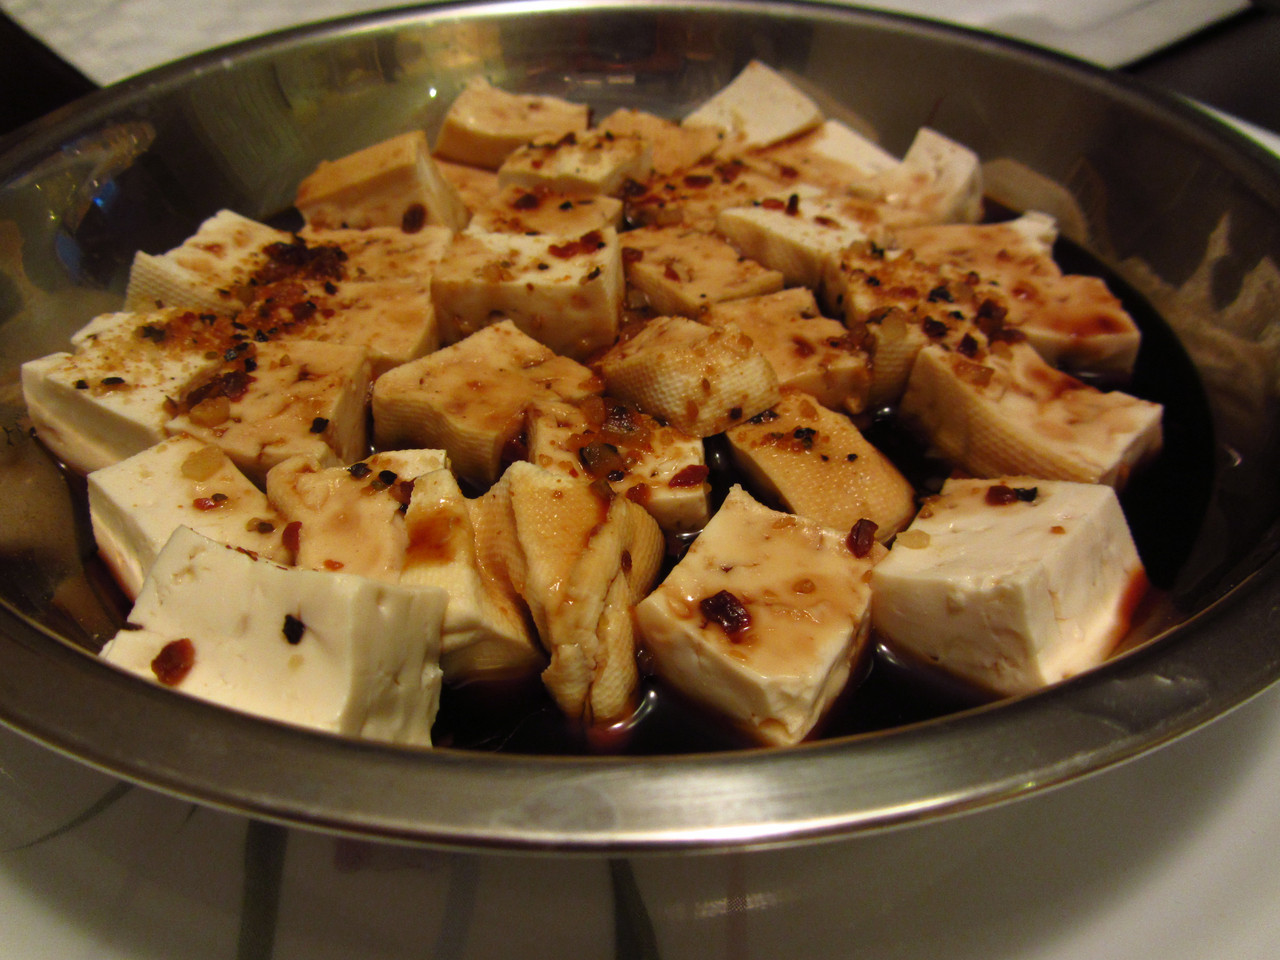
After you remove it from the steamer, unwrap the tin foil to see the beautiful creation you’ve made! My eggs were over-cooked so it’s not the custard texture that I was looking for on the top as I left it in the steamer so it would stay warm. However, it was smooth and creamy on the inside. I like to add some soy sauce to my eggs, because that is how my dad did it. My mom would actually put a bunch of stuff on top to make the eggs more flavourful. I like the XO Sauce Steamed Egg Tofu for me!

If you like steamed eggs for dinner, try ending with steamed egg for dessert with Dun Daan (Sweet Egg Custard Dessert)